
Suspension on Gravel Bikes? Necessary or Unnecessary?
In recent weeks and posts, we have delved into various suspension components such as the Redshift Shockstop and the new Rockshox Rudy gravel fork, discovering their significant advantages but also acknowledging their drawbacks and costs. Do gravel bikes really need such components, or are they unnecessary? Should those seeking such features instead turn to mountain biking? Below, I'll share my opinion and thoughts on this intriguing topic."
As always, please note that English is not my native language. There may be some grammatical errors here and there. Please excuse this, as I am working to improve my skills.
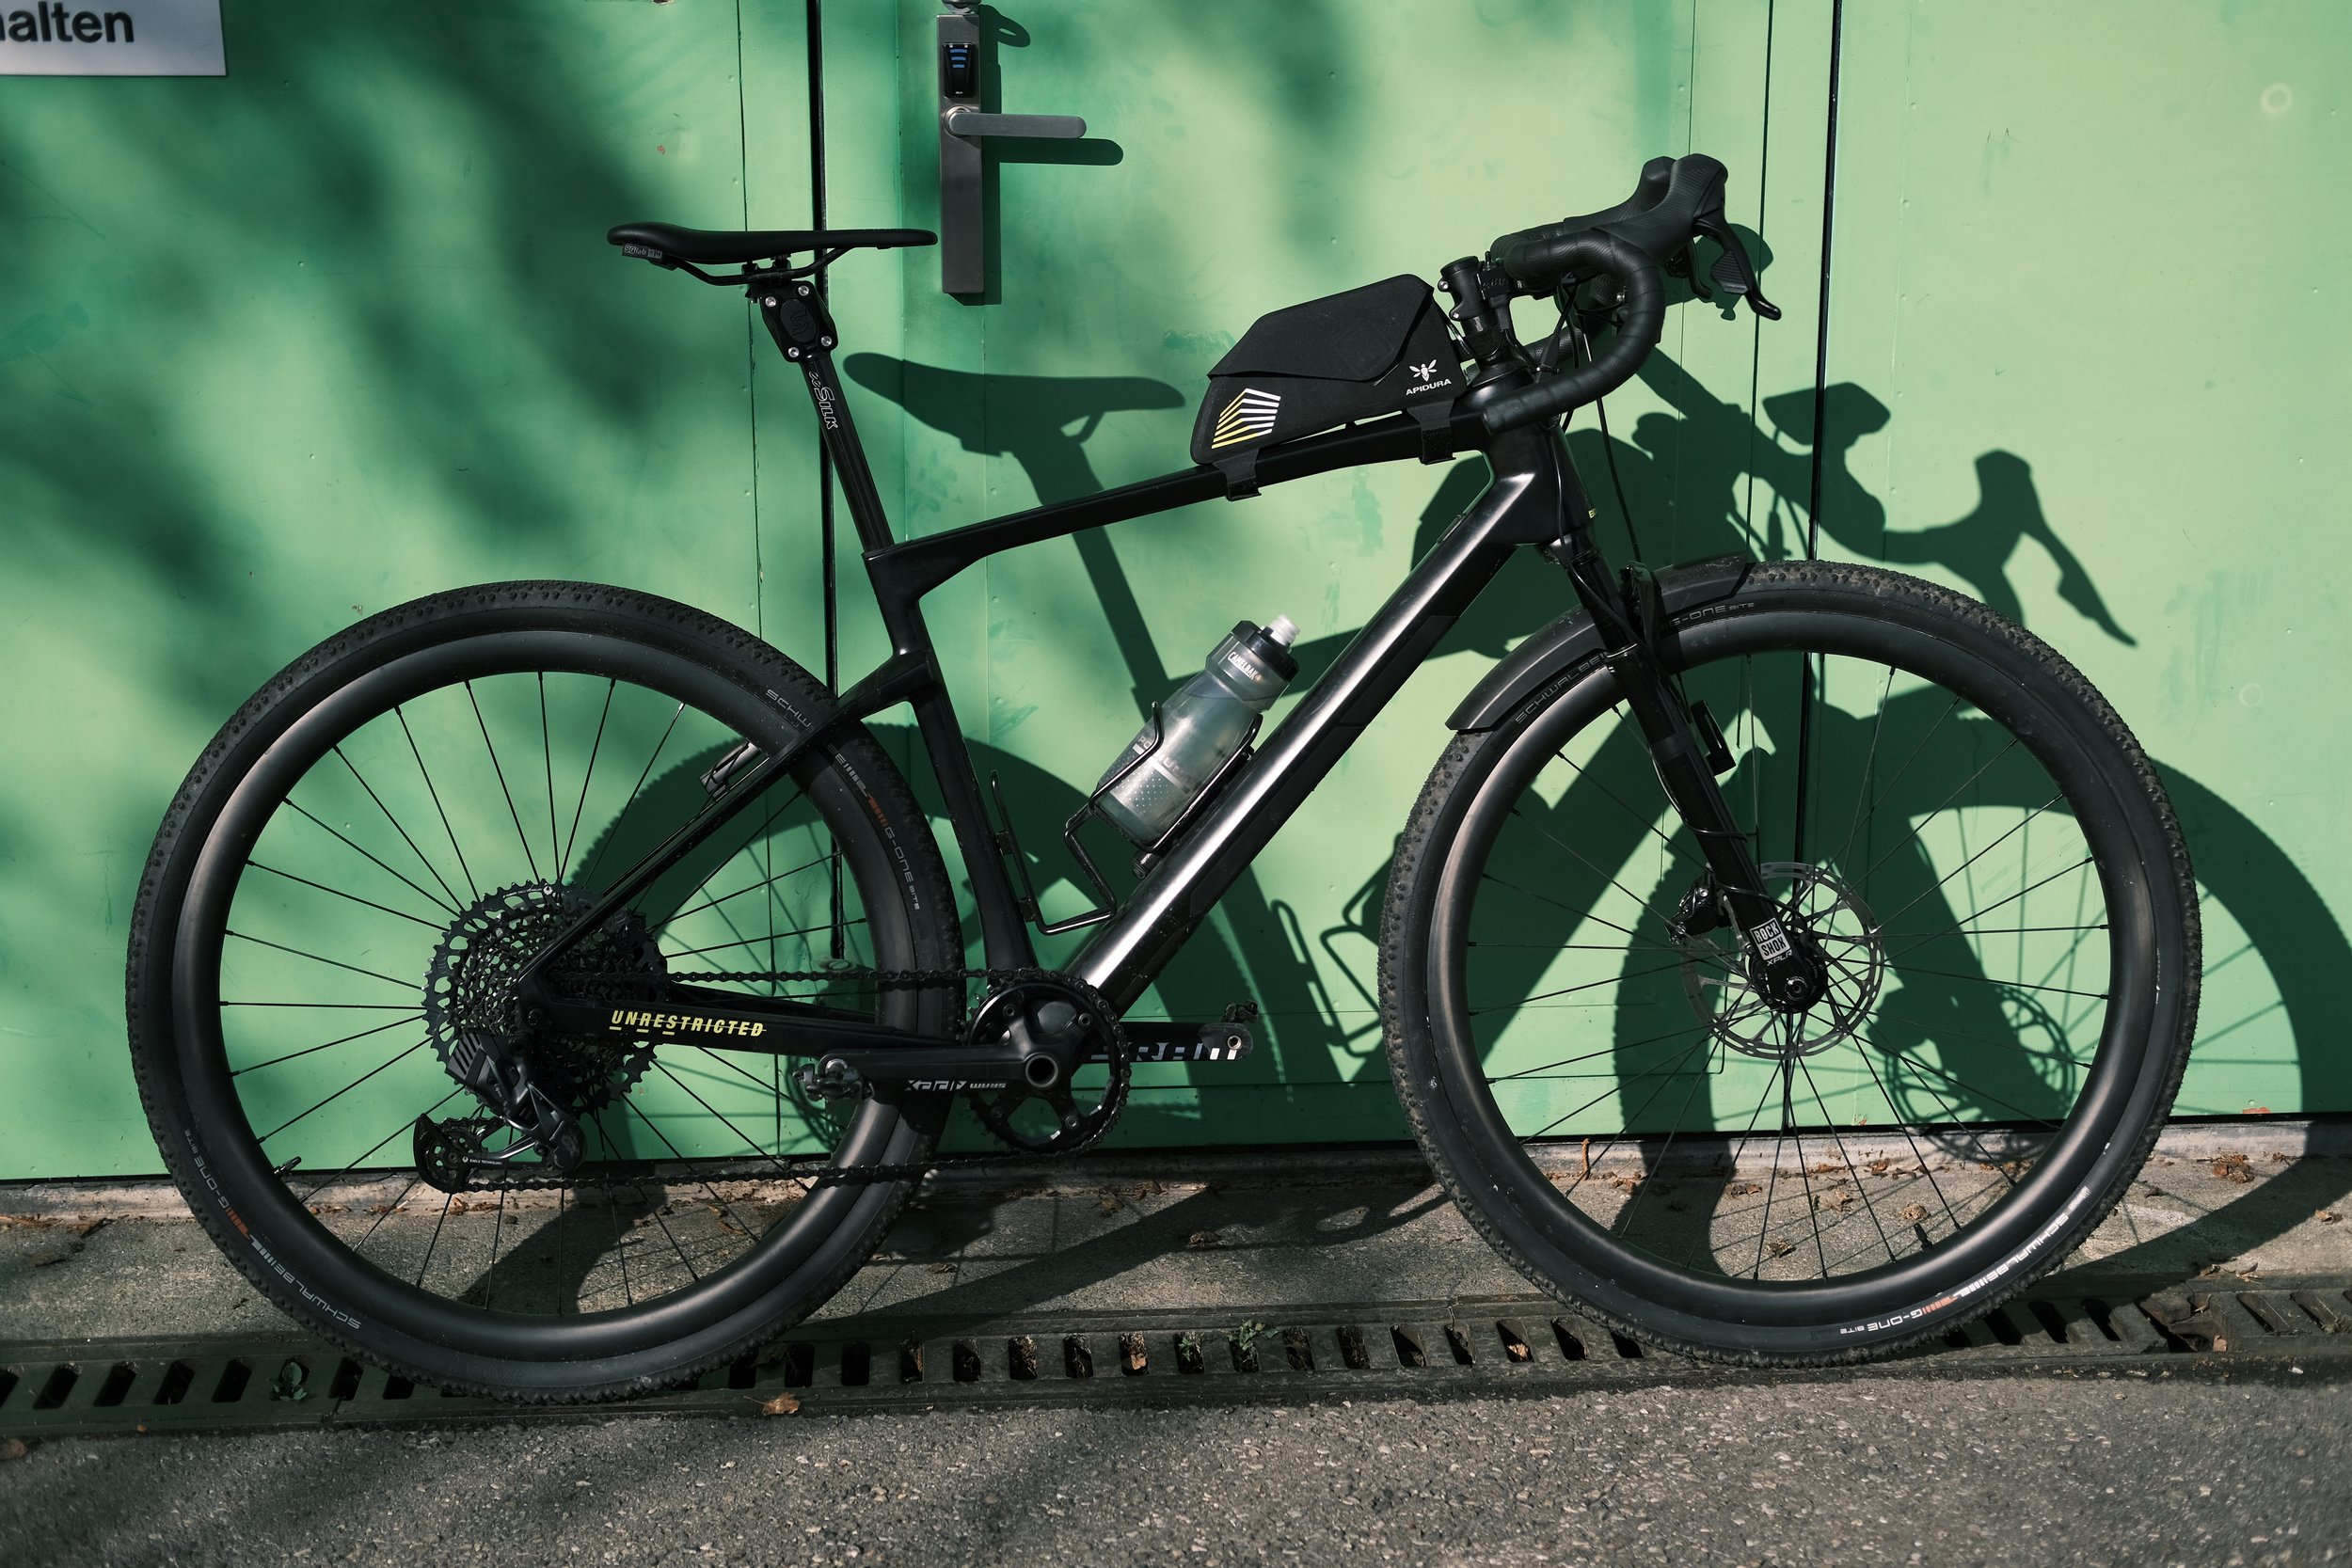
At my bike's core, I've incorporated nearly every suspension component available. The factory-installed MTT system provides rear suspension, while the Cane Creek eeSilk+ takes care of the seatpost, and up front, I rely on the Rockshox gravel fork.
The discussion about the necessity of such components is quite polarizing. There are people who dismiss gravel bikes as mere marketing gimmicks or hipster bikes, directing you straight to a mountain bike if you want to ride off-road. On the other hand, there are those who see gravel bikes as a middle ground between endurance road bikes and hardtail mountain bikes, appreciating the benefits of certain damping components and even desiring more. Defining what a gravel bike truly is becomes a challenge. Is it just a road bike with bigger tires? A stripped-down mountain bike? As you can see, reaching a consensus is difficult. It's hard to decide whose opinion to trust - the sources, influencers, or magazines. Therefore, I'll share my approach and explain which components I would choose for different types of terrain. It's important to note that not everyone needs a gravel fork and suspension seatpost.
For me, my journey with these components began when I tried to compensate for poor bike setup (wrong saddle, incorrect saddle height and tilt, and improper stem length) by using specialized components. I wasn't aware of how much these incorrect adjustments affected comfort. As a complete novice in the cycling world, I naively thought, 'That's just how it is, it's not a full-suspension mountain bike.' Of course, that was a naive perspective, but everyone starts somewhere. After realizing that components like a suspension stem and seatpost had a noticeable effect, but my main issue was the basic bike setup, I started questioning whether my setup had become overkill - like driving an SUV in a city. From then on, I experimented with different configurations almost every weekend: riding without a suspension seatpost, removing front suspension, trying smaller or larger tires, and so on. In the examples below, I will explain my recommendations for various types of terrain to maximize fun, comfort, and safety.
One final note: I define cycling fun as having a grin on my face when tackling challenging gravel sections and arriving at my destination unscathed (#Underbiking), or simply exploring new areas comfortably. I don't need to be the fastest or compete in races, so my recommendations are influenced by this perspective and the environment I live in (Allgäu and the Bernese Oberland)

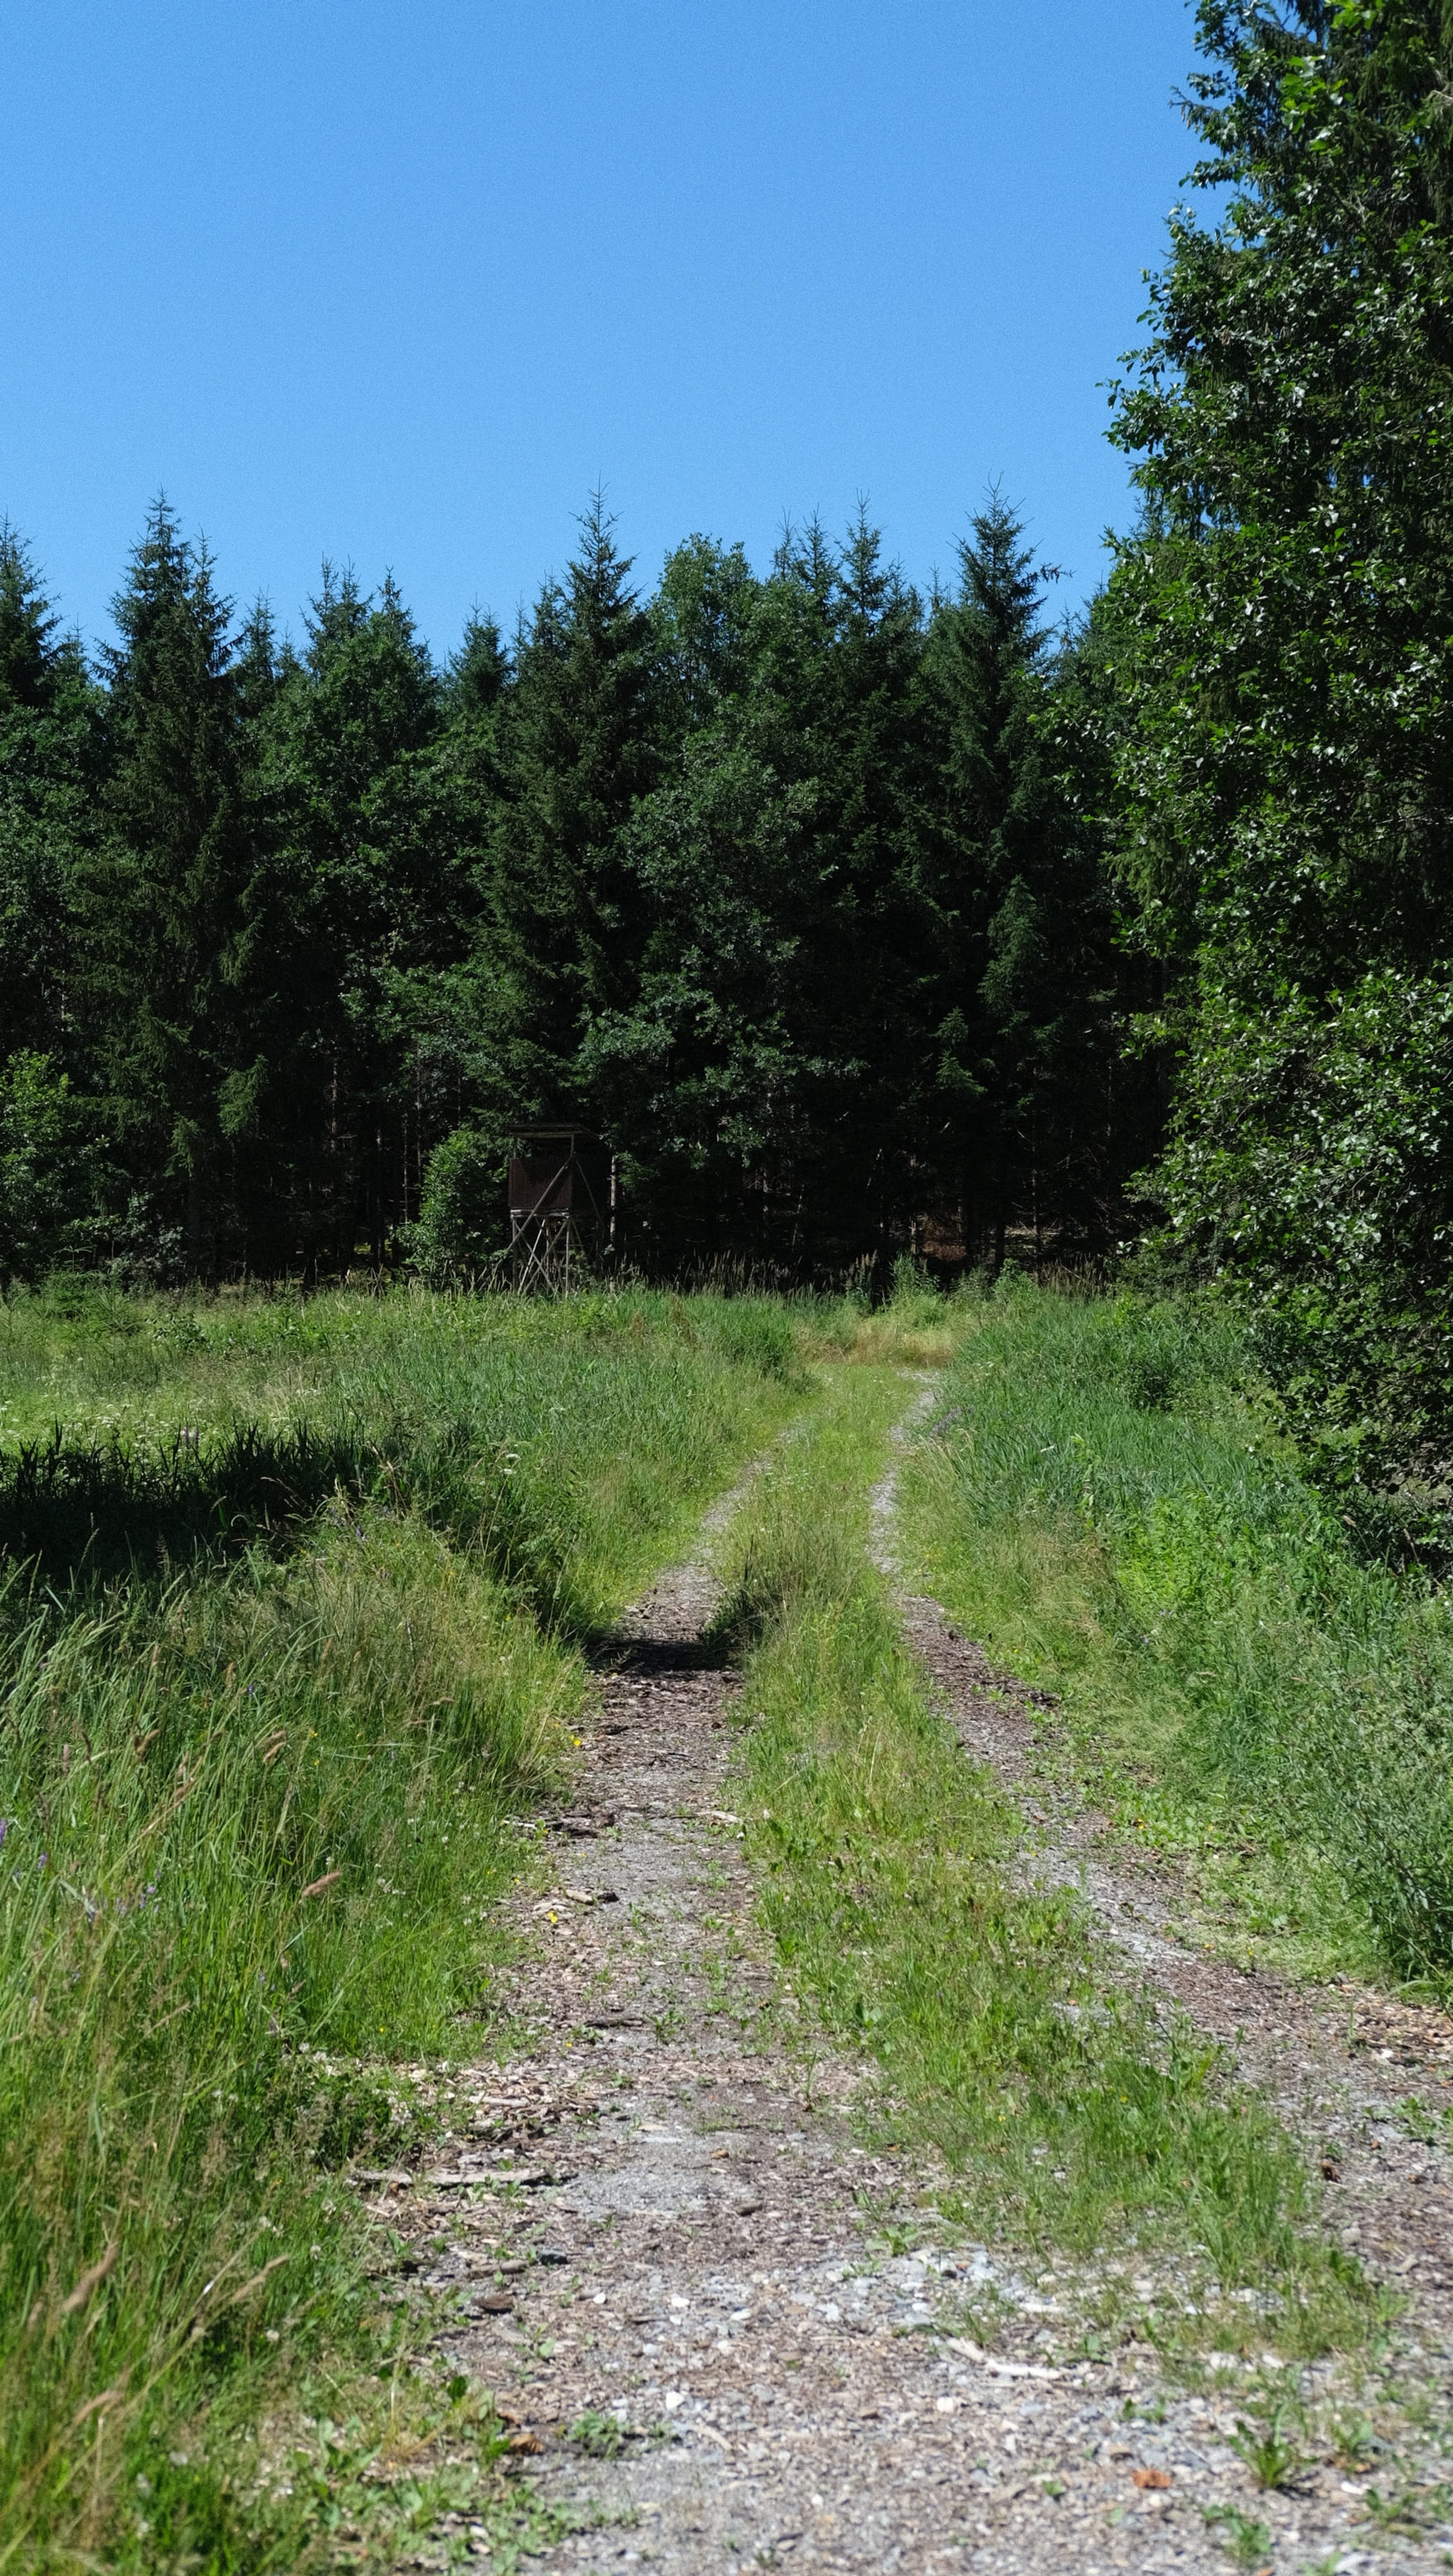
My URS in bikepacking mode: Whether it's 2 hours, 5 hours, or 10 hours, with a well-tuned bike, these saddle times should be easily achievable
The first and foremost recommendation for tackling any terrain is to prioritize a proper bike fit and invest in the right saddle. As I emphasized in my detailed review of the SQ LAB 612 Ergowave, this aspect holds immense significance in determining the level of enjoyment you'll experience with your gravel bike. Regardless of the price tag attached to your bike, whether it's a budget-friendly option or a top-of-the-line masterpiece, its true value lies in how well it conforms to your individual needs and preferences. Each rider possesses a unique anatomy, making it essential to find a saddle that provides optimal comfort and support. While the prospect of spending between €100 and €250 on a bikefit may initially seem daunting, it's important to view it as an integral part of the overall investment in your bike. By ensuring the perfect fit, you're setting the foundation for an unparalleled riding experience. With that in mind, let's delve into exploring the various terrains you'll encounter on your thrilling gravel adventures.

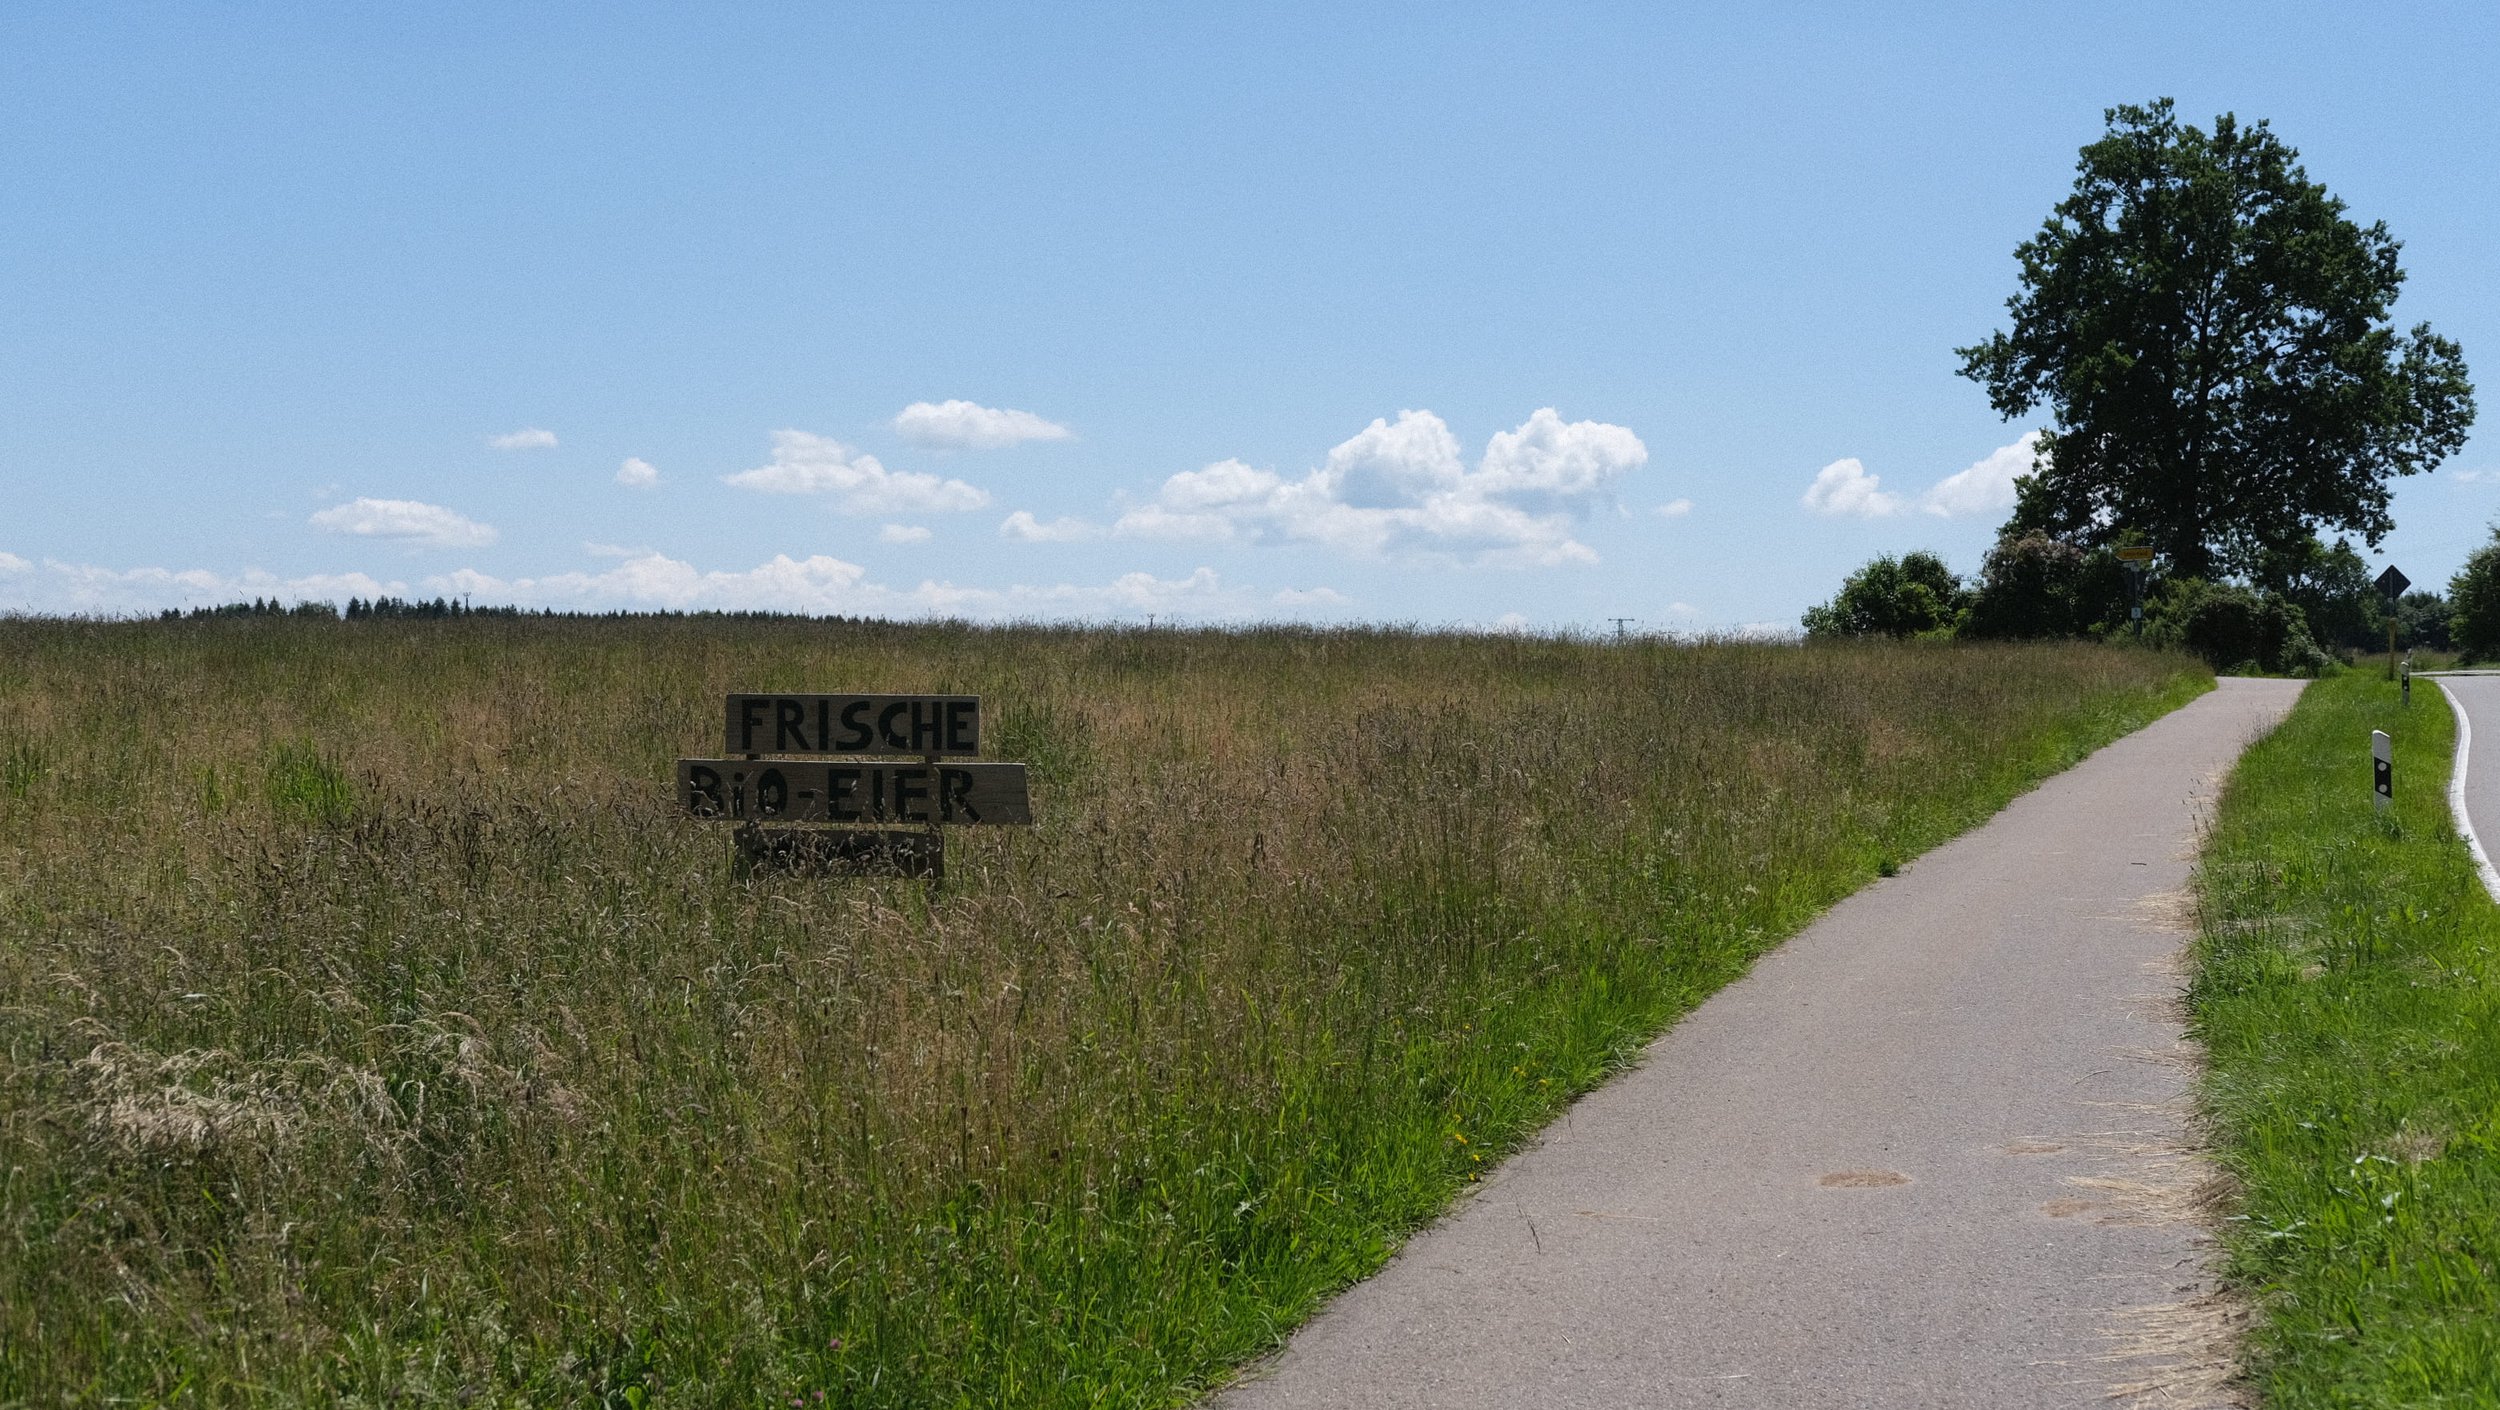
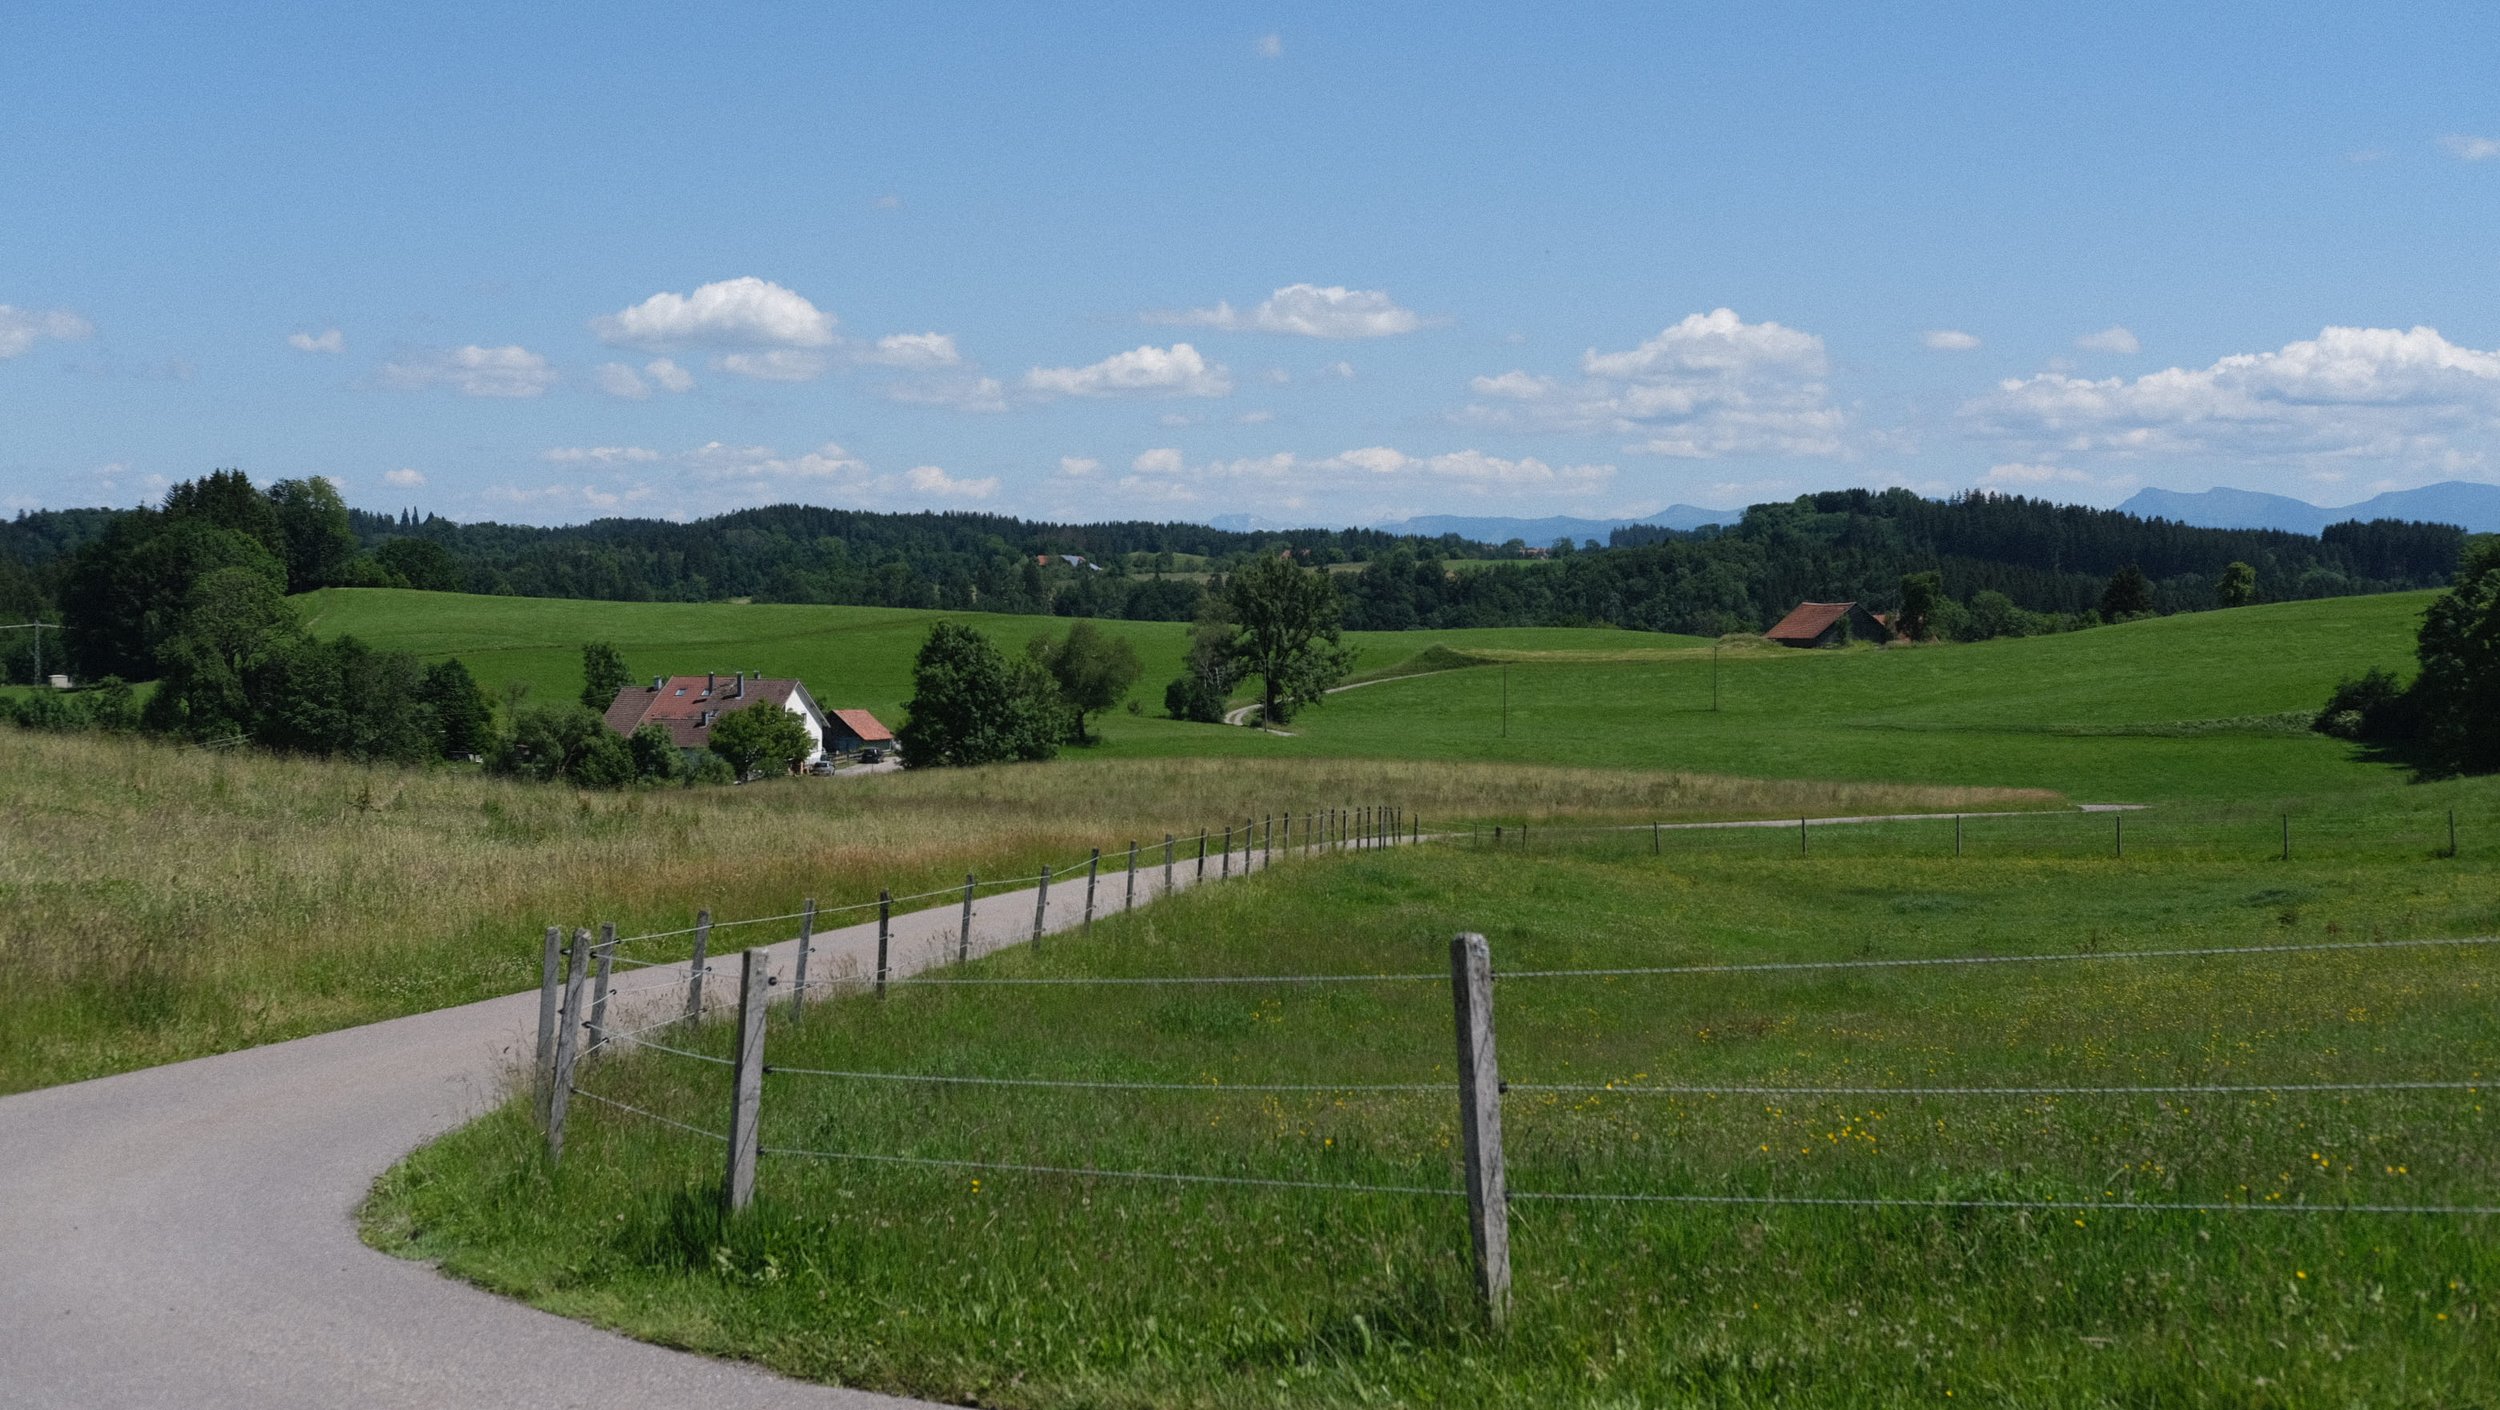
The classic country road. Familiar and loved
The first type of terrain we encounter is one that's probably all too familiar to everyone—the classic country road. Technically speaking, it may not have much to do with gravel, but here we are in well-developed Europe and not the vast expanses of Utah. These roads often make up a significant portion of my routes, not because I secretly prefer road cycling, but because they conveniently connect the gravel sections together. Here, you can enjoy a leisurely ride, sharing the path with tractors and fellow cyclists. Do you need any suspension components for this type of terrain? In my opinion, no. While a suspension stem may be a nice addition, it's absolutely unnecessary for these roads. What you do need, however, are high-quality tires with a certain width and a well-adjusted air pressure to absorb the minimal vibrations caused by different surfaces and small stones. Finding the right air pressure can be achieved through various reliable starting points (such as Rene Herse, Silca, or SRAM). In reality, it's much lower than most people assume. So, it's all about gaining experience and finding your personal preference in this regard.
Recommendation: High-Quality Tires, 40C and Above, with the Right Pressure

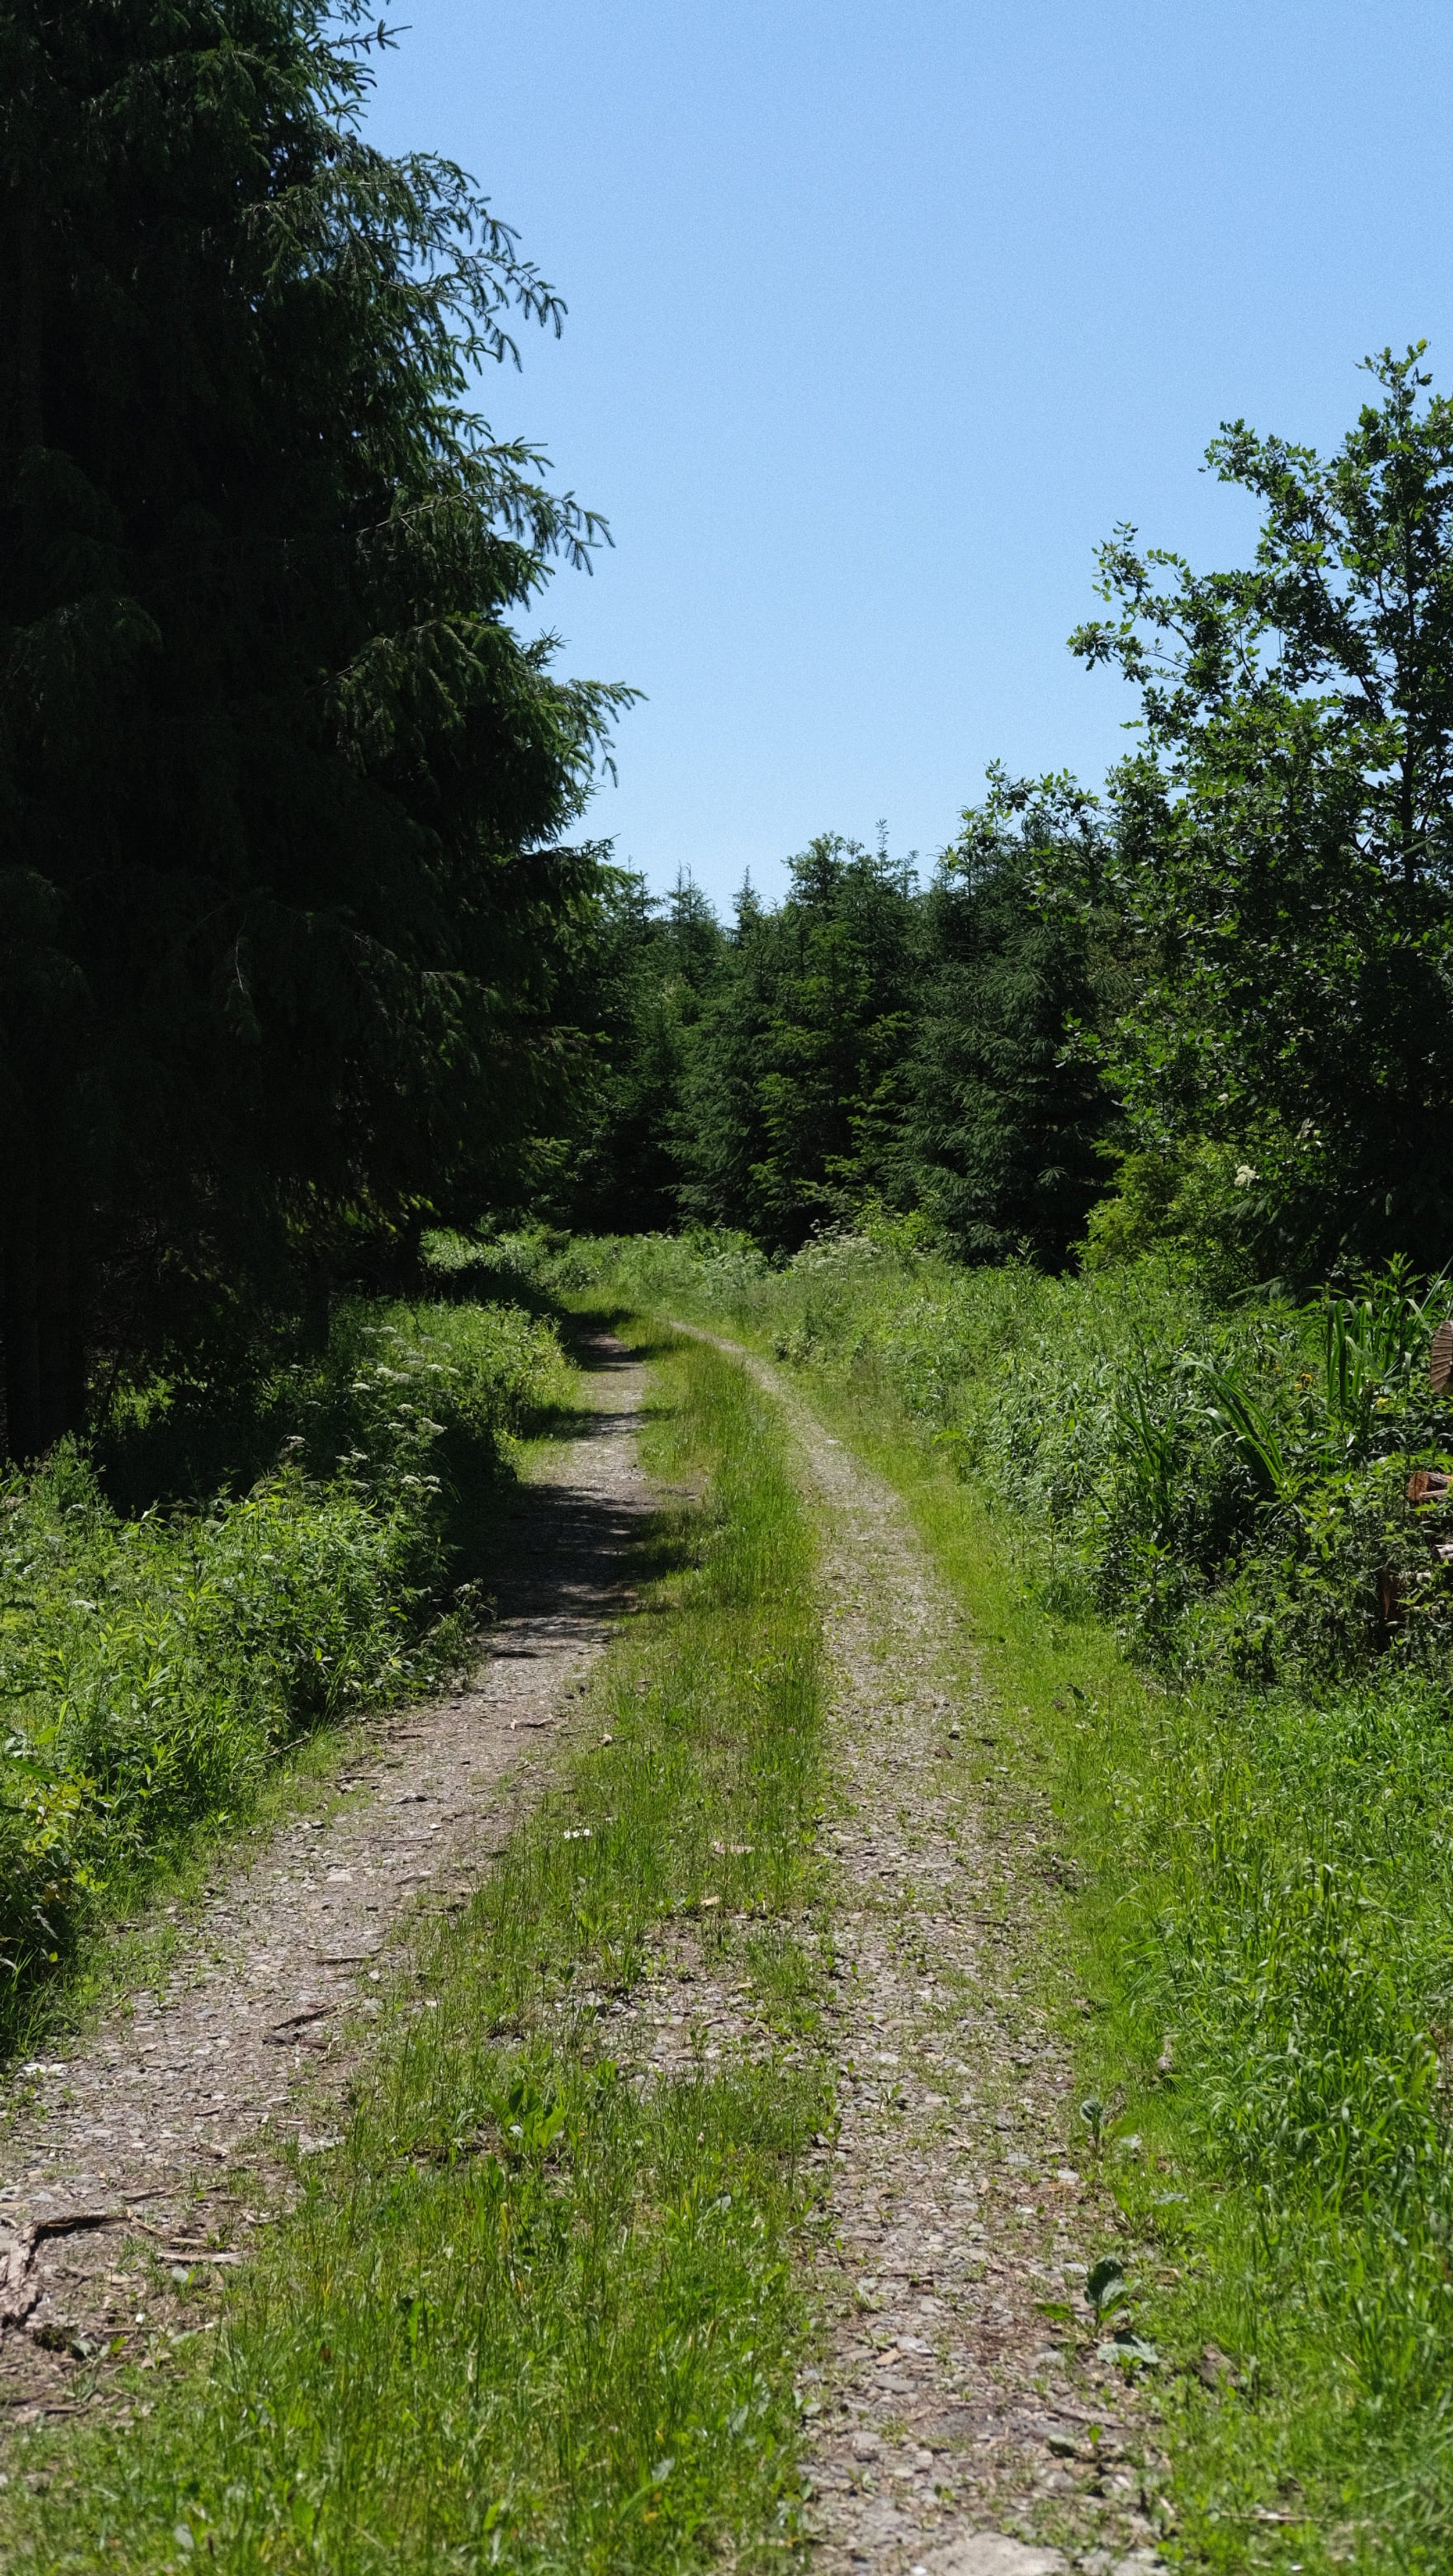
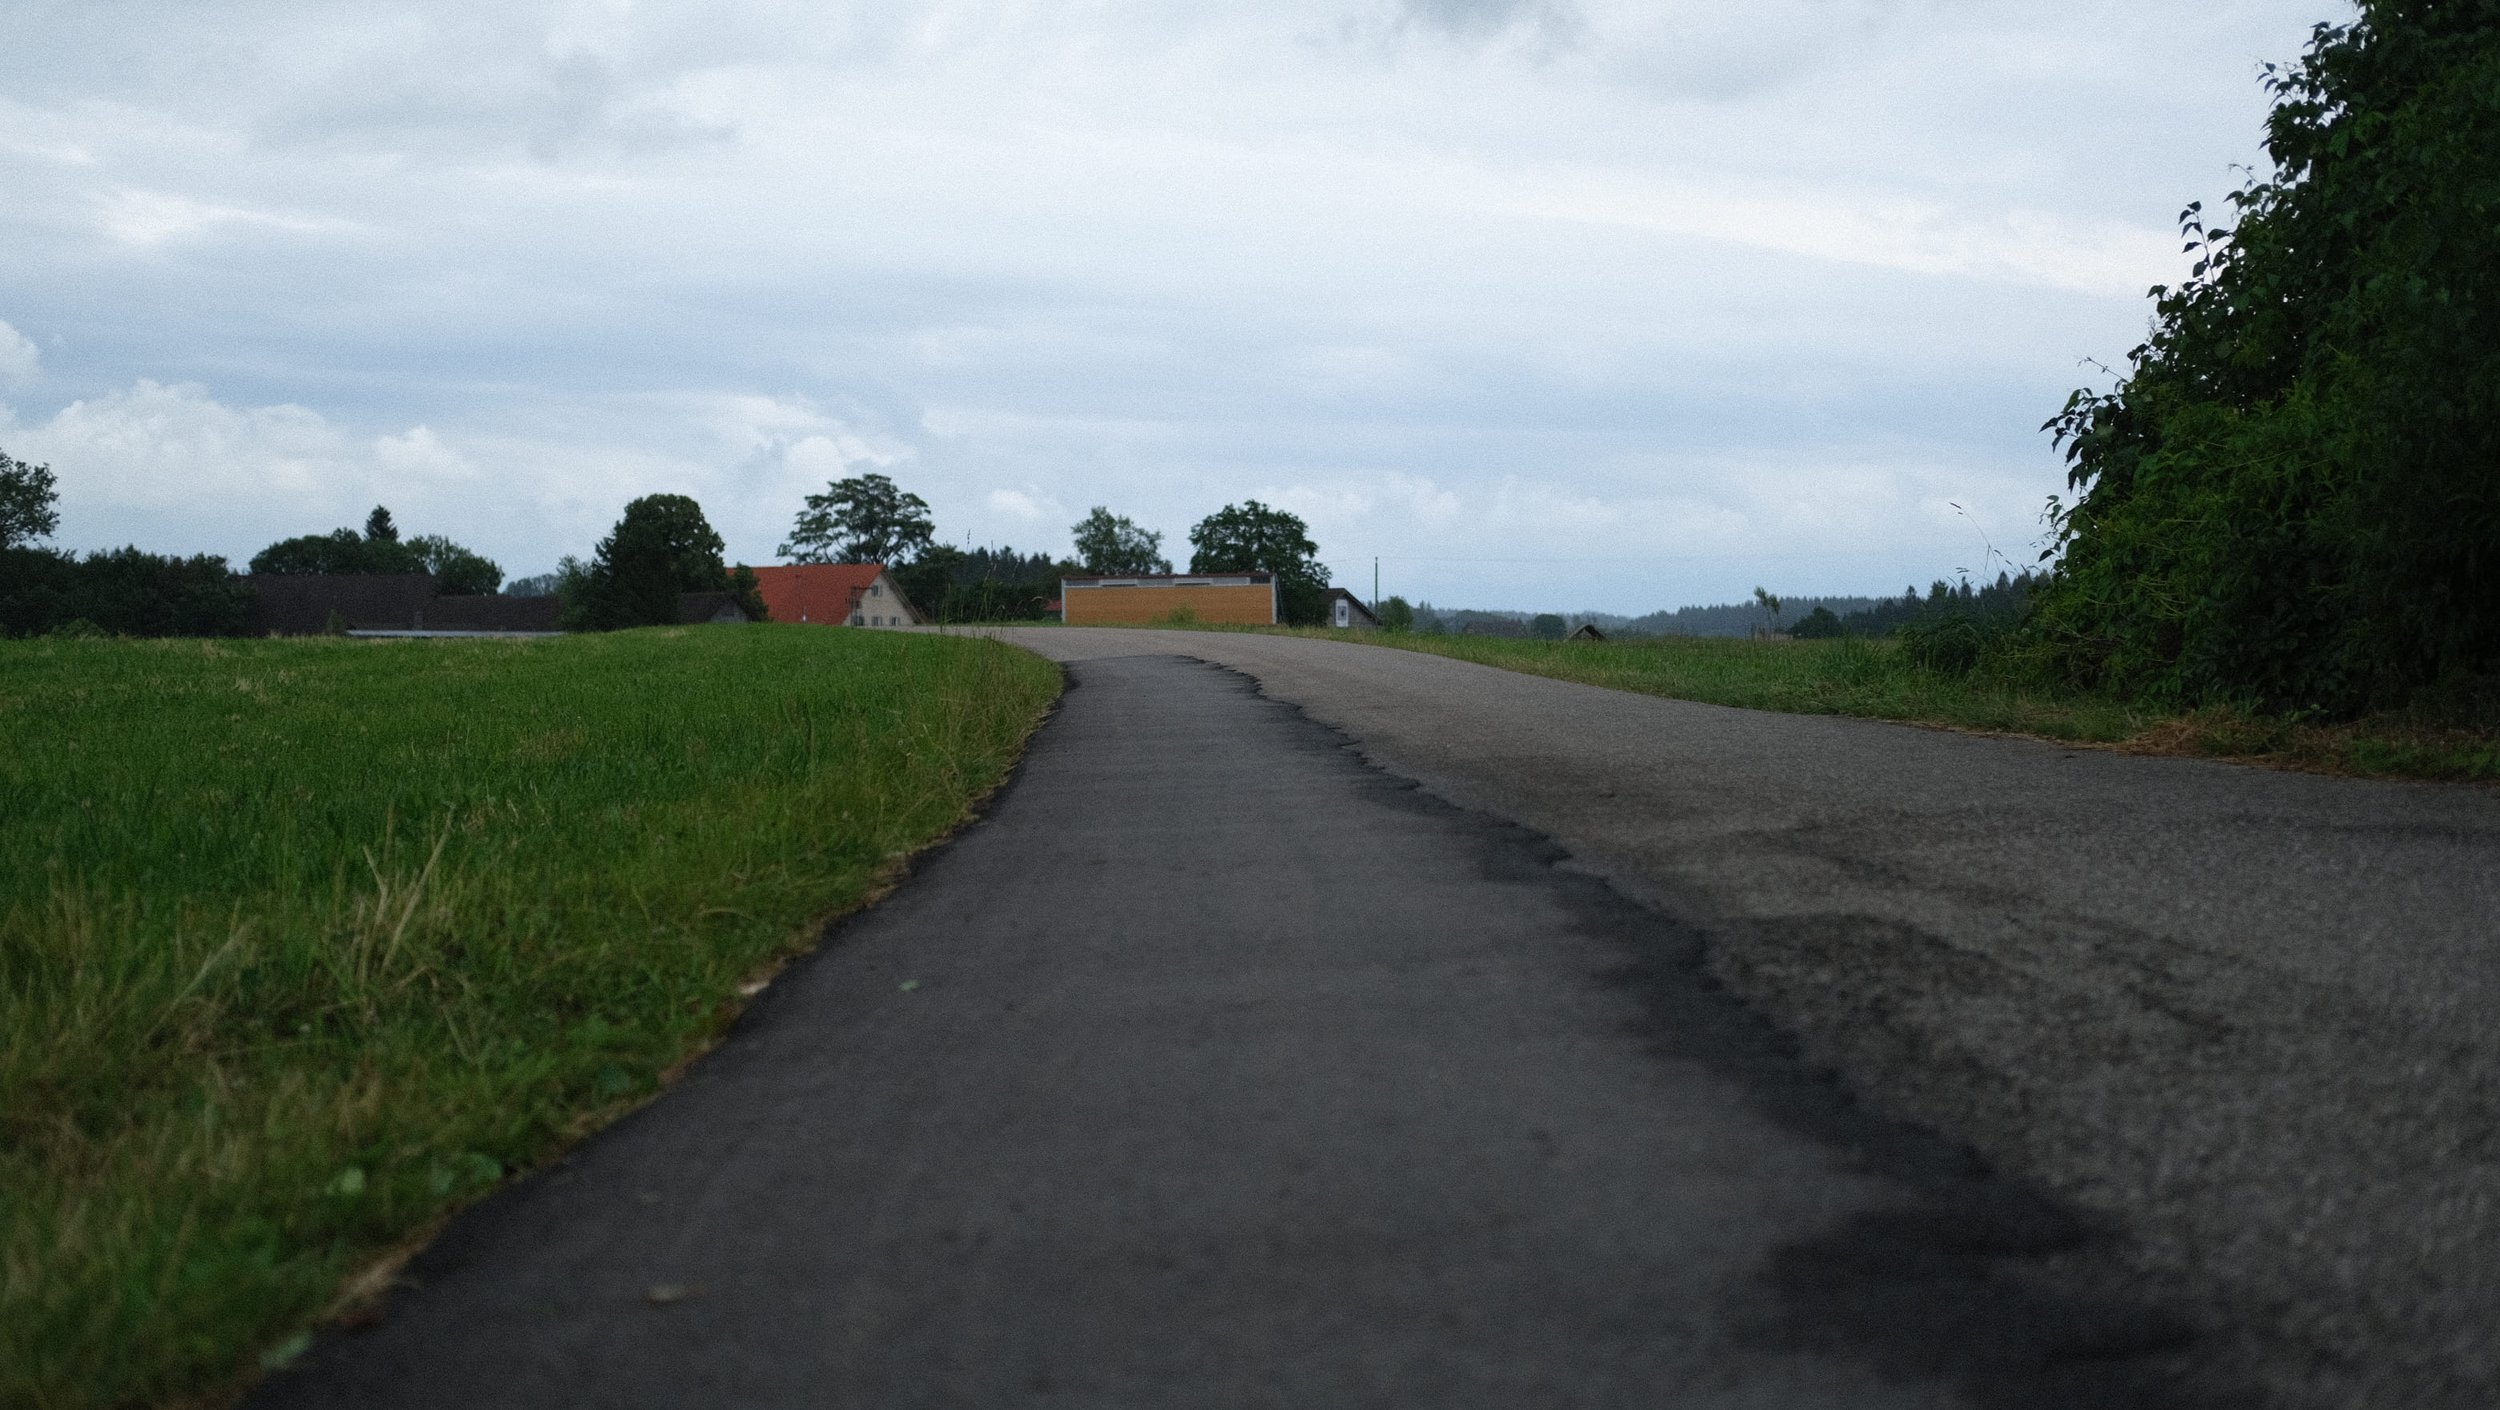
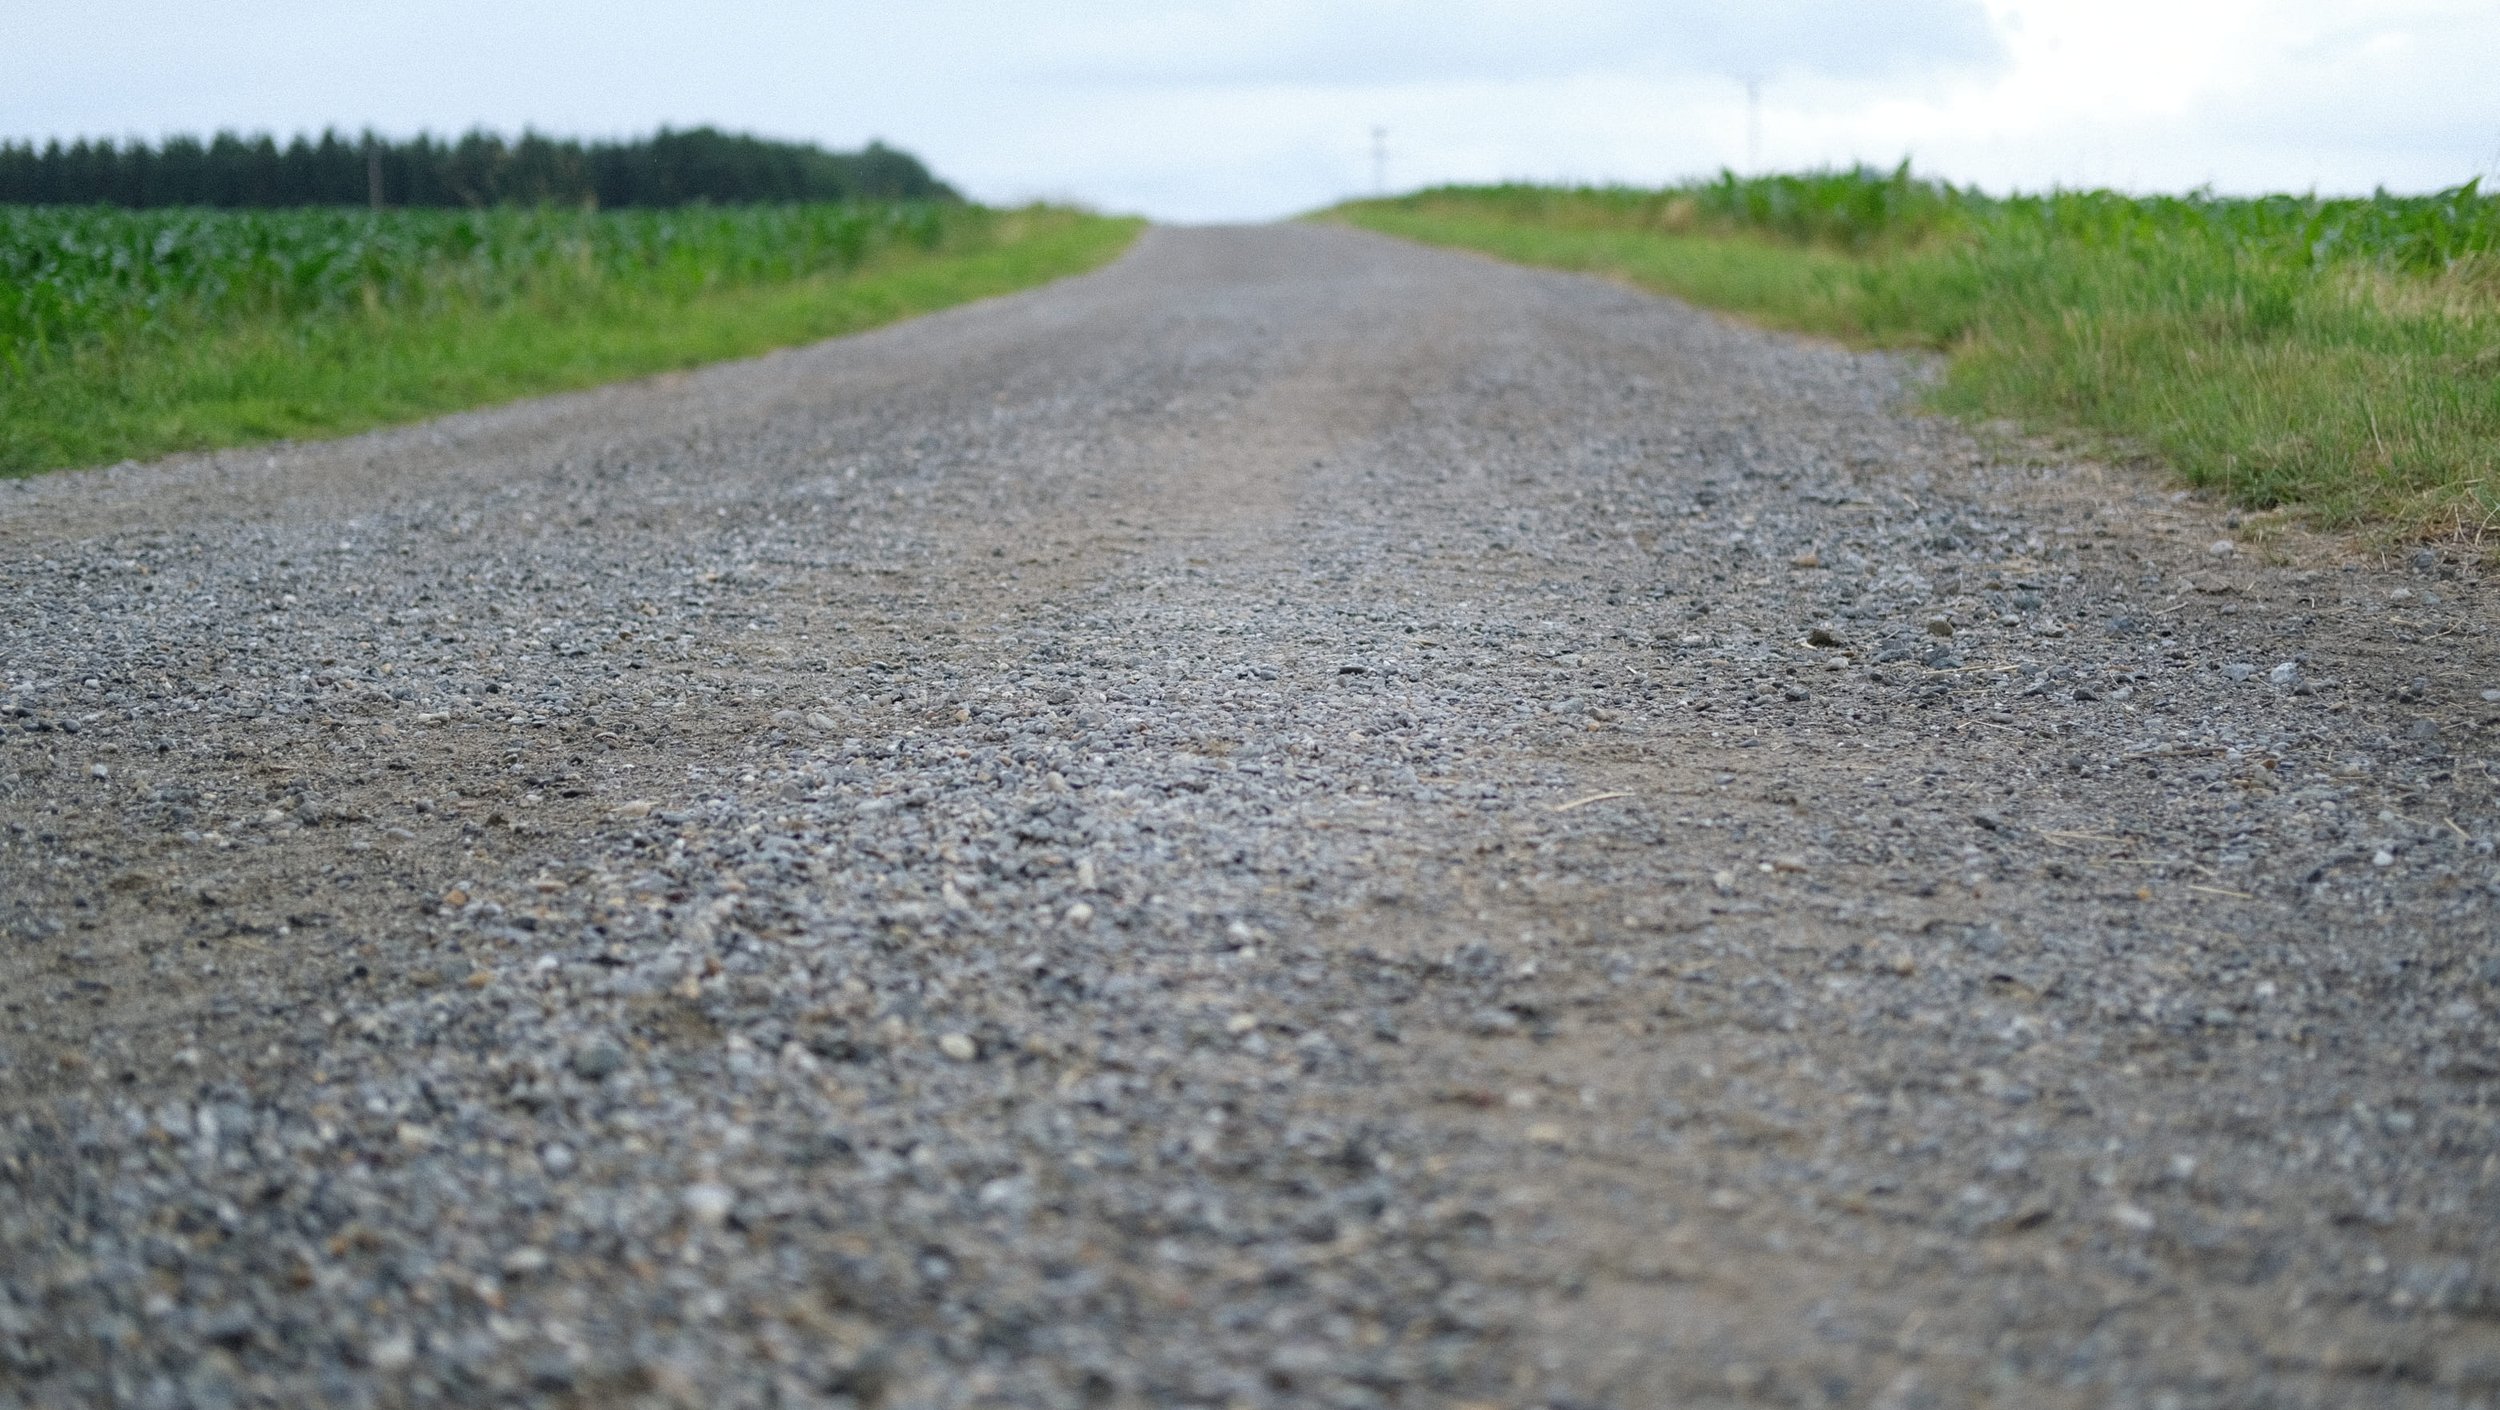
The Forest Highway

The Gravel Road
The second terrain type, undoubtedly the star of the show and likely the reason behind investing in a gravel bike, is the "forest highway" and gravel roads. Here in the Allgäu region, they are abundant and make up about 90% of the routes, alongside country roads. This terrain introduces more vibrations to your hands and seat, and occasionally, there might be larger stones that you unintentionally encounter or overlook.
This is where the suspension stem truly shines. It unleashes its full potential by absorbing the majority of vibrations, smoothing out the ride. However, it's important to remain cautious, as the suspension stem only provides cushioning for the rider, without adding additional traction. This terrain calls for wider tires, preferably 40c or above, which help enhance stability and comfort.
While not an absolute necessity, I highly recommend a suspension stem for those who spend several hours riding on such terrain or have sensitive hands. It prevents any discomfort or numbness that may arise. By equipping your bike with a suspension stem, you circumvent the entire issue, and I believe the investment is well worth it.
So, whether you're tackling the forest highway or exploring gravel roads, a combination of wider tires and a suspension stem ensures a more enjoyable and comfortable ride. Embrace the versatility of your gravel bike as you conquer the undulating landscapes and revel in the freedom of the open road. The forest highway and gravel roads await your spirited exploration
RECOMMENDATION: SUSPENSION STEM AND/OR 45C TIRES

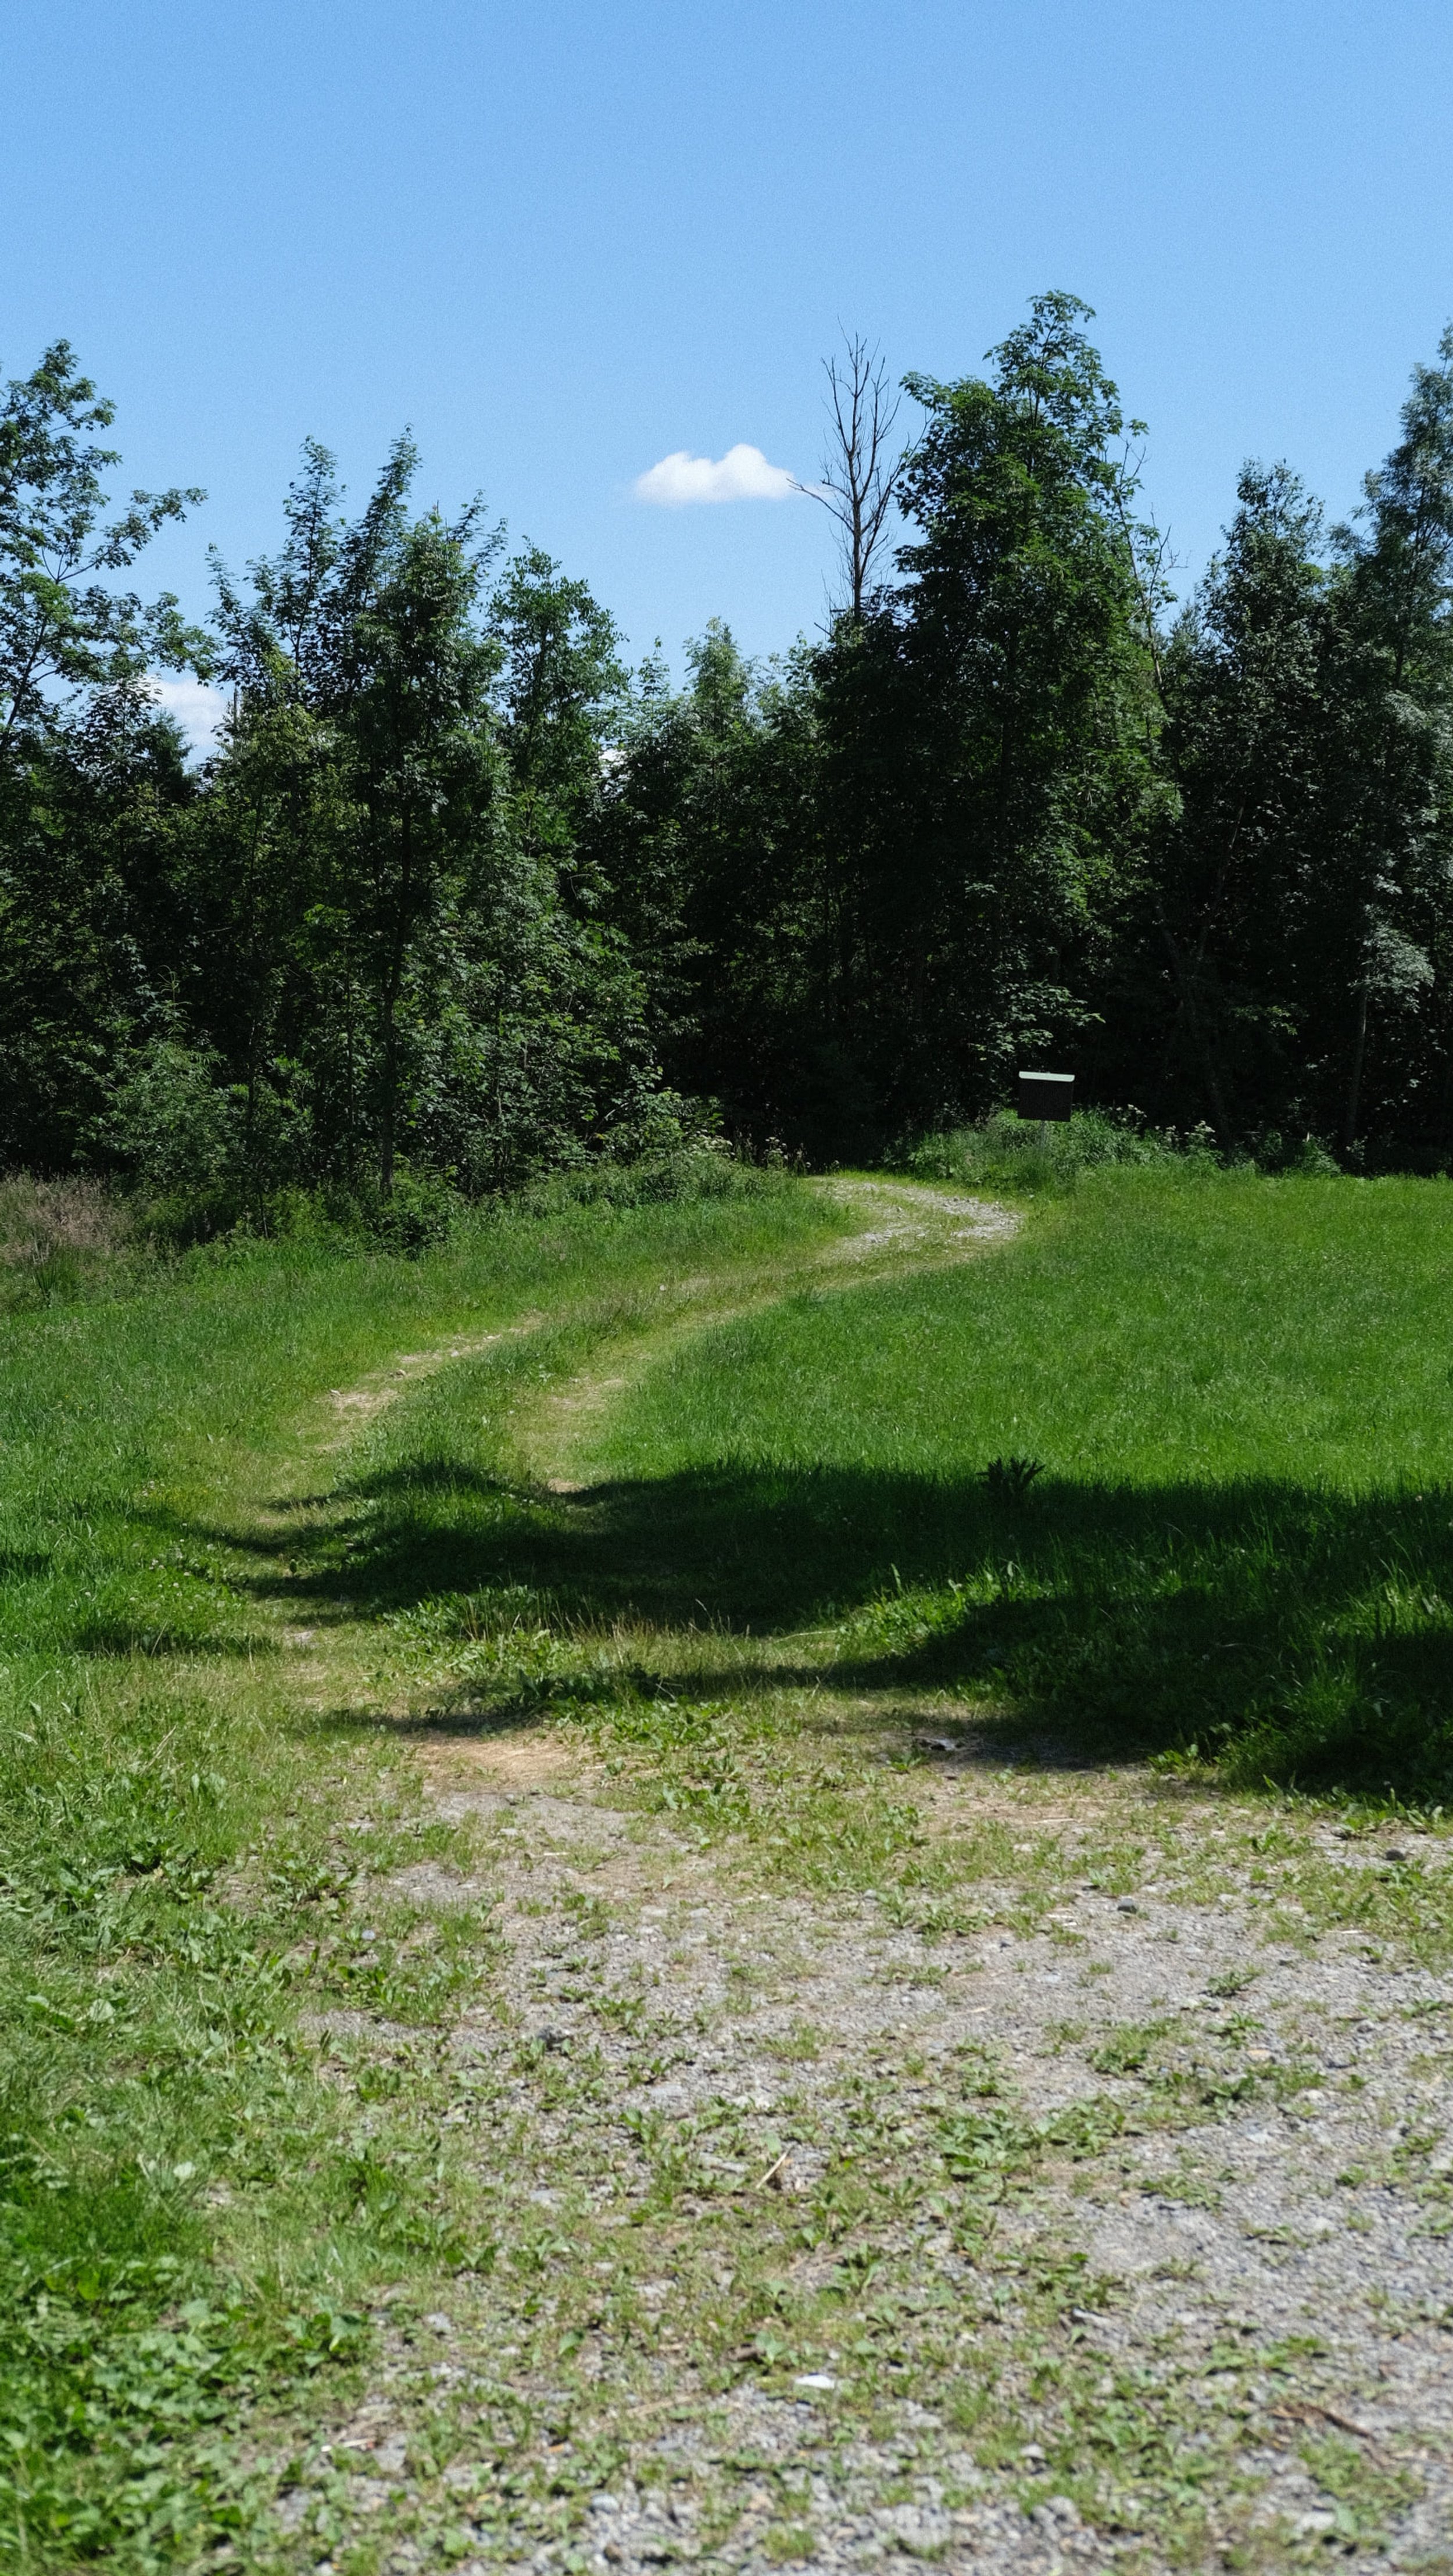
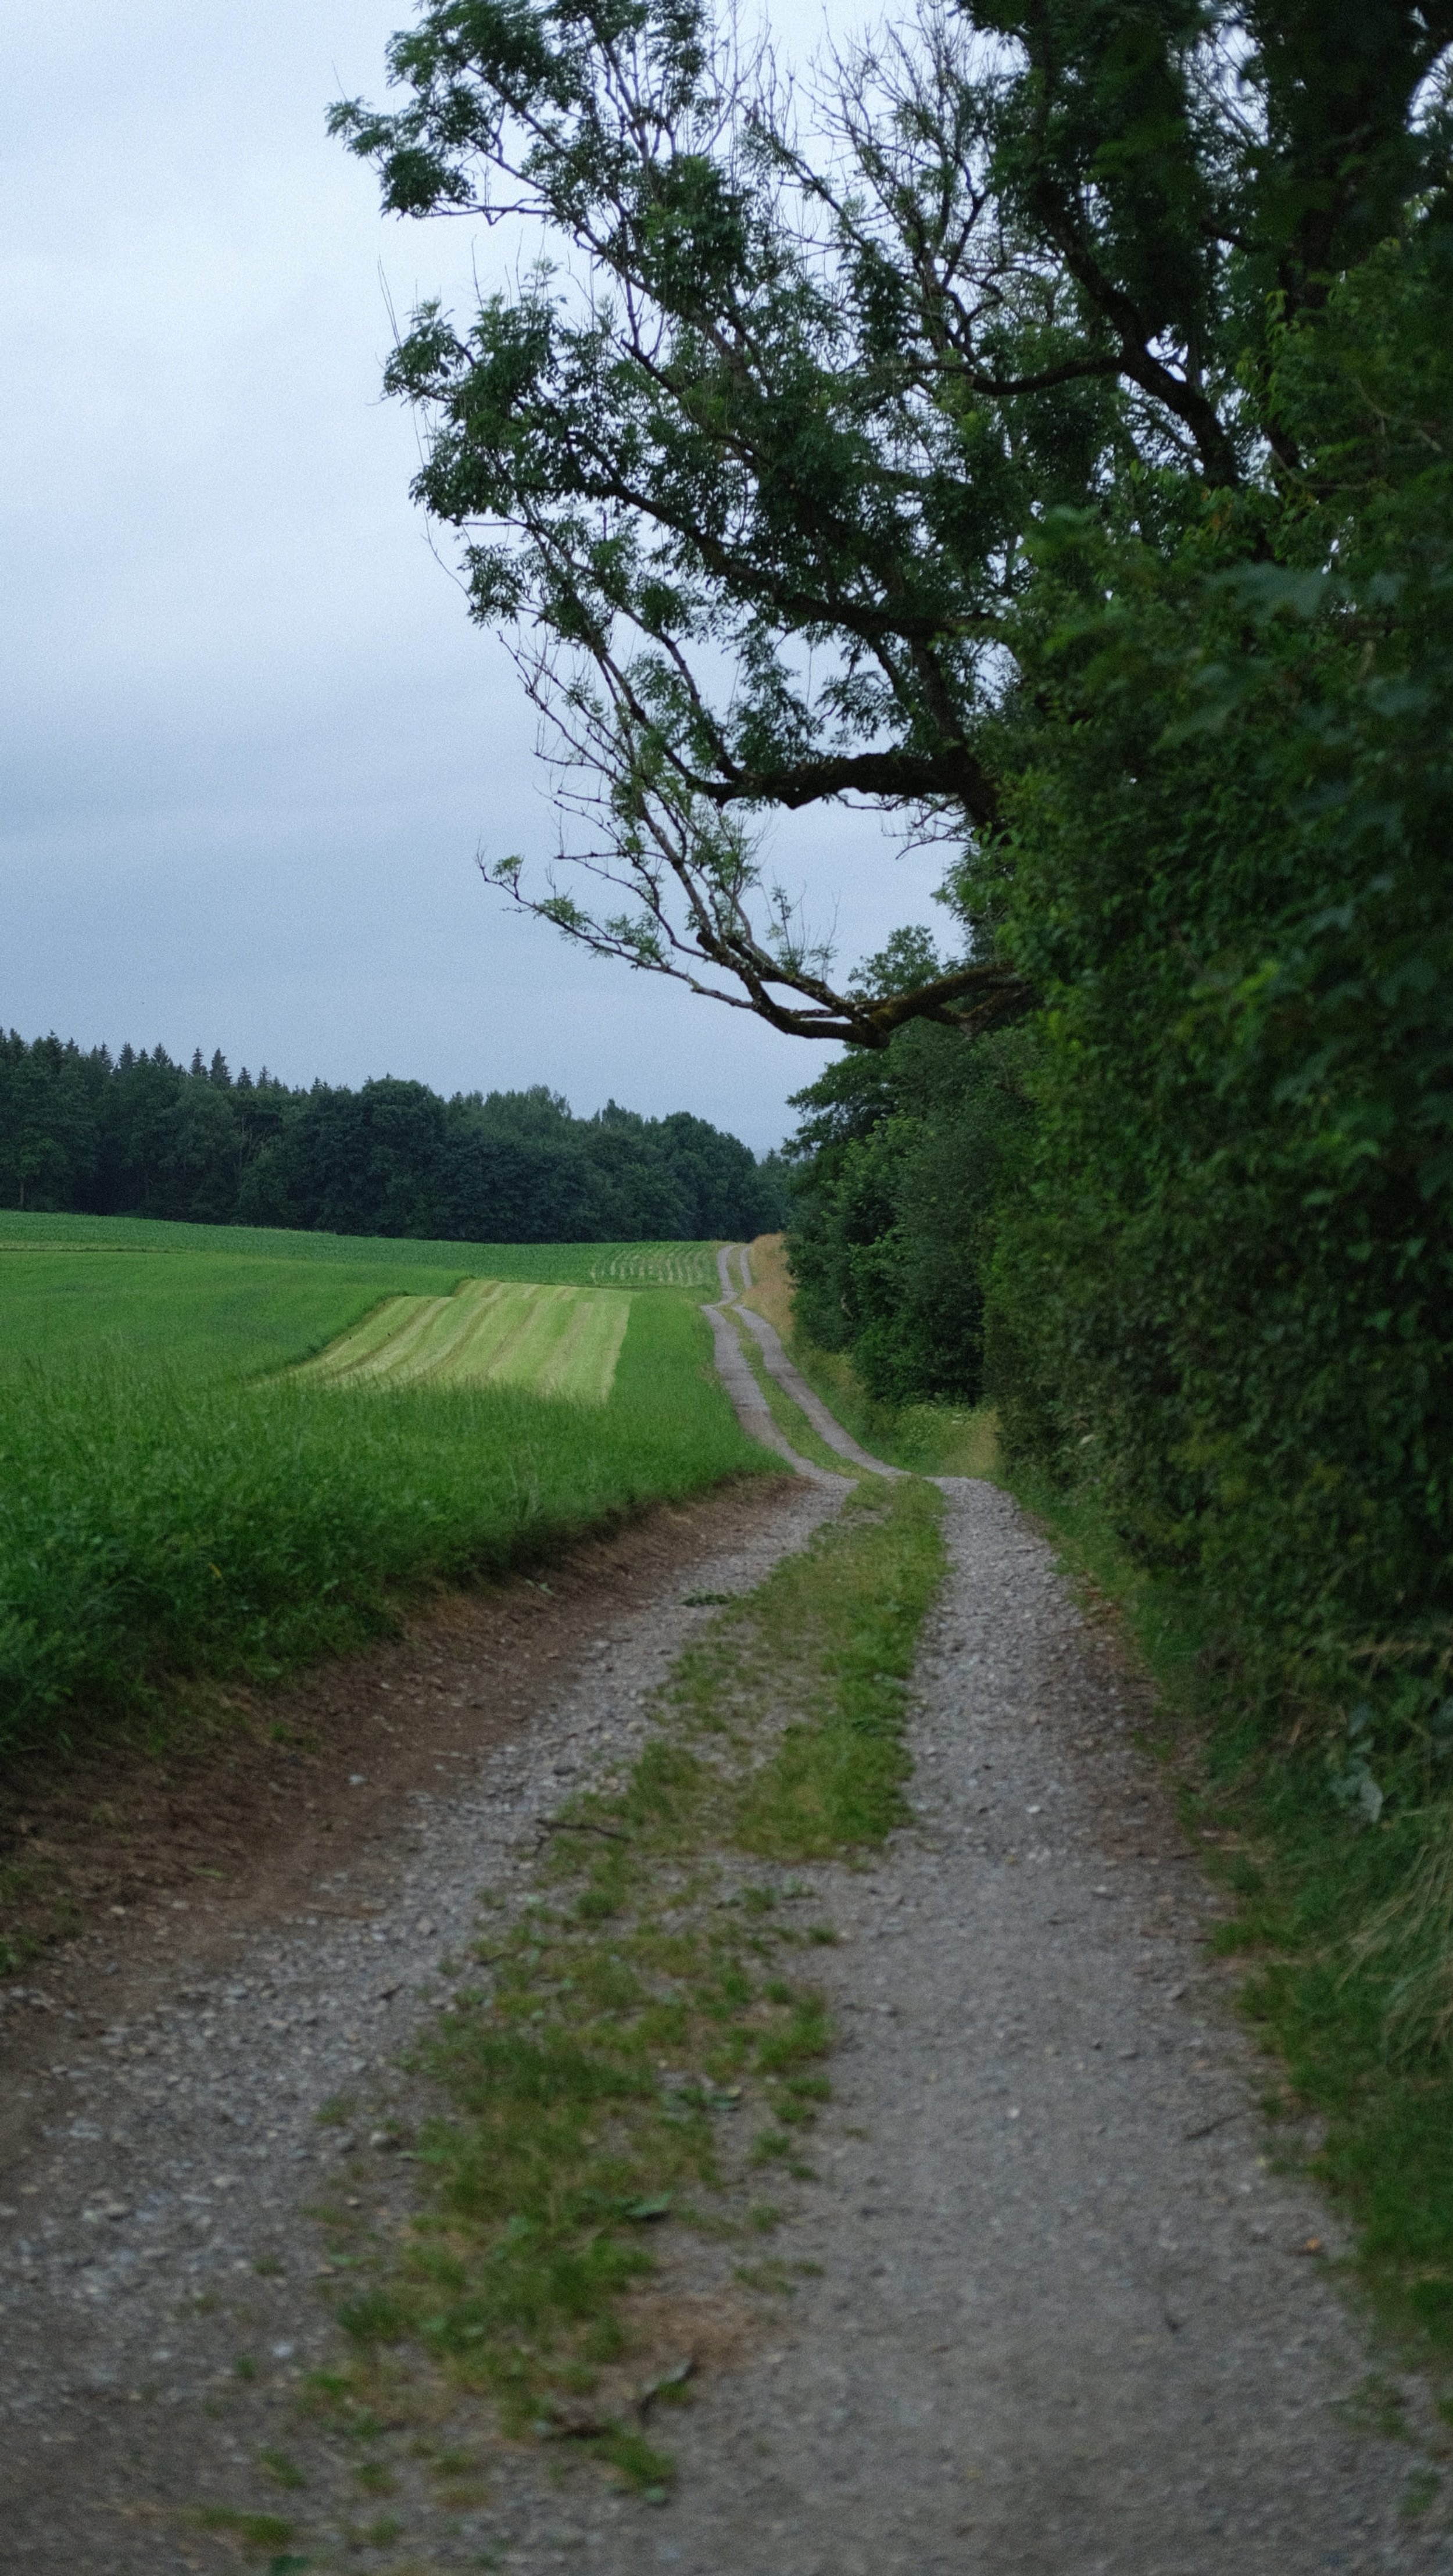
Gravel Deluxe and Beyond
This terrain type is personally where I feel most at home. The image above represents the beginning of Schotter Deluxe for me. With rougher stones compared to regular gravel paths, it's crucial to actively choose the right line to avoid accidental jolts or larger stones that could potentially throw you off your bike. In addition to comfort, traction becomes a key consideration in this terrain. Lowering the tire pressure slightly is often recommended to increase traction, allowing the tire to create a larger contact patch and maximize grip. However, be cautious not to go too low, as you risk exposing your rims to potential damage from rough impacts. While aluminum rims can handle this to some extent, protecting carbon rims is essential. Being tubeless is beneficial here since running low pressures with tubes can quickly result in flats. Optimal tire sizes for this terrain range from 45-50C. A suspension stem is also highly beneficial for increasing comfort. However, for this terrain (and even more challenging conditions), modern gravel suspension forks like the Rockshox Rudy have been developed. Alongside enhanced comfort, they provide the added benefit of improved traction. You can confidently choose a more relaxed line as the fork keeps the tire in better contact with the ground, significantly boosting traction and your overall sense of safety. If a significant portion of your rides takes place on this type of terrain, exploring a gravel suspension fork would be worthwhile.
RECOMMENDATION: GRAVEL FORK AND/OR 45C+ TIRES
With these recommendations, you should be able to ride comfortably and safely anywhere. As mentioned, these are suggestions from the perspective of a cyclist who started riding actively during the pandemic. More experienced riders may be comfortable riding on Schotter Deluxe with 40c tires and manage just fine. I want to emphasize that there is no objectively right answer, only recommendations. What you make of them is up to you.
WHICH SUSPENSION STEM?
Since I mentioned suspension stems earlier, it's evident that a comparison between the Redshift Shockstop and the Vecnum freeQENCE is necessary. In my opinion, if price is the primary concern and you're unsure if you really need such a component, go for the Shockstop from Redshift. It is more affordable and, based on my experience, can easily be resold. However, if you are certain that you want a suspension stem on your gravel bike for the long term, I can only recommend the freeQENCE from Vecnum. The premium price comes with premium performance. In my opinion, it functions noticeably better than the Shockstop, and the stem is locally produced in the Allgäu region.
I hope this post helps some of you in your decision-making process. Next week, we will delve into the Tailfin Aeropack or the kLite ULTRA light. Feel free to comment on what you would like to read about next.