
New Bike Day: My New Gravel Bike
New Bike, New Luck
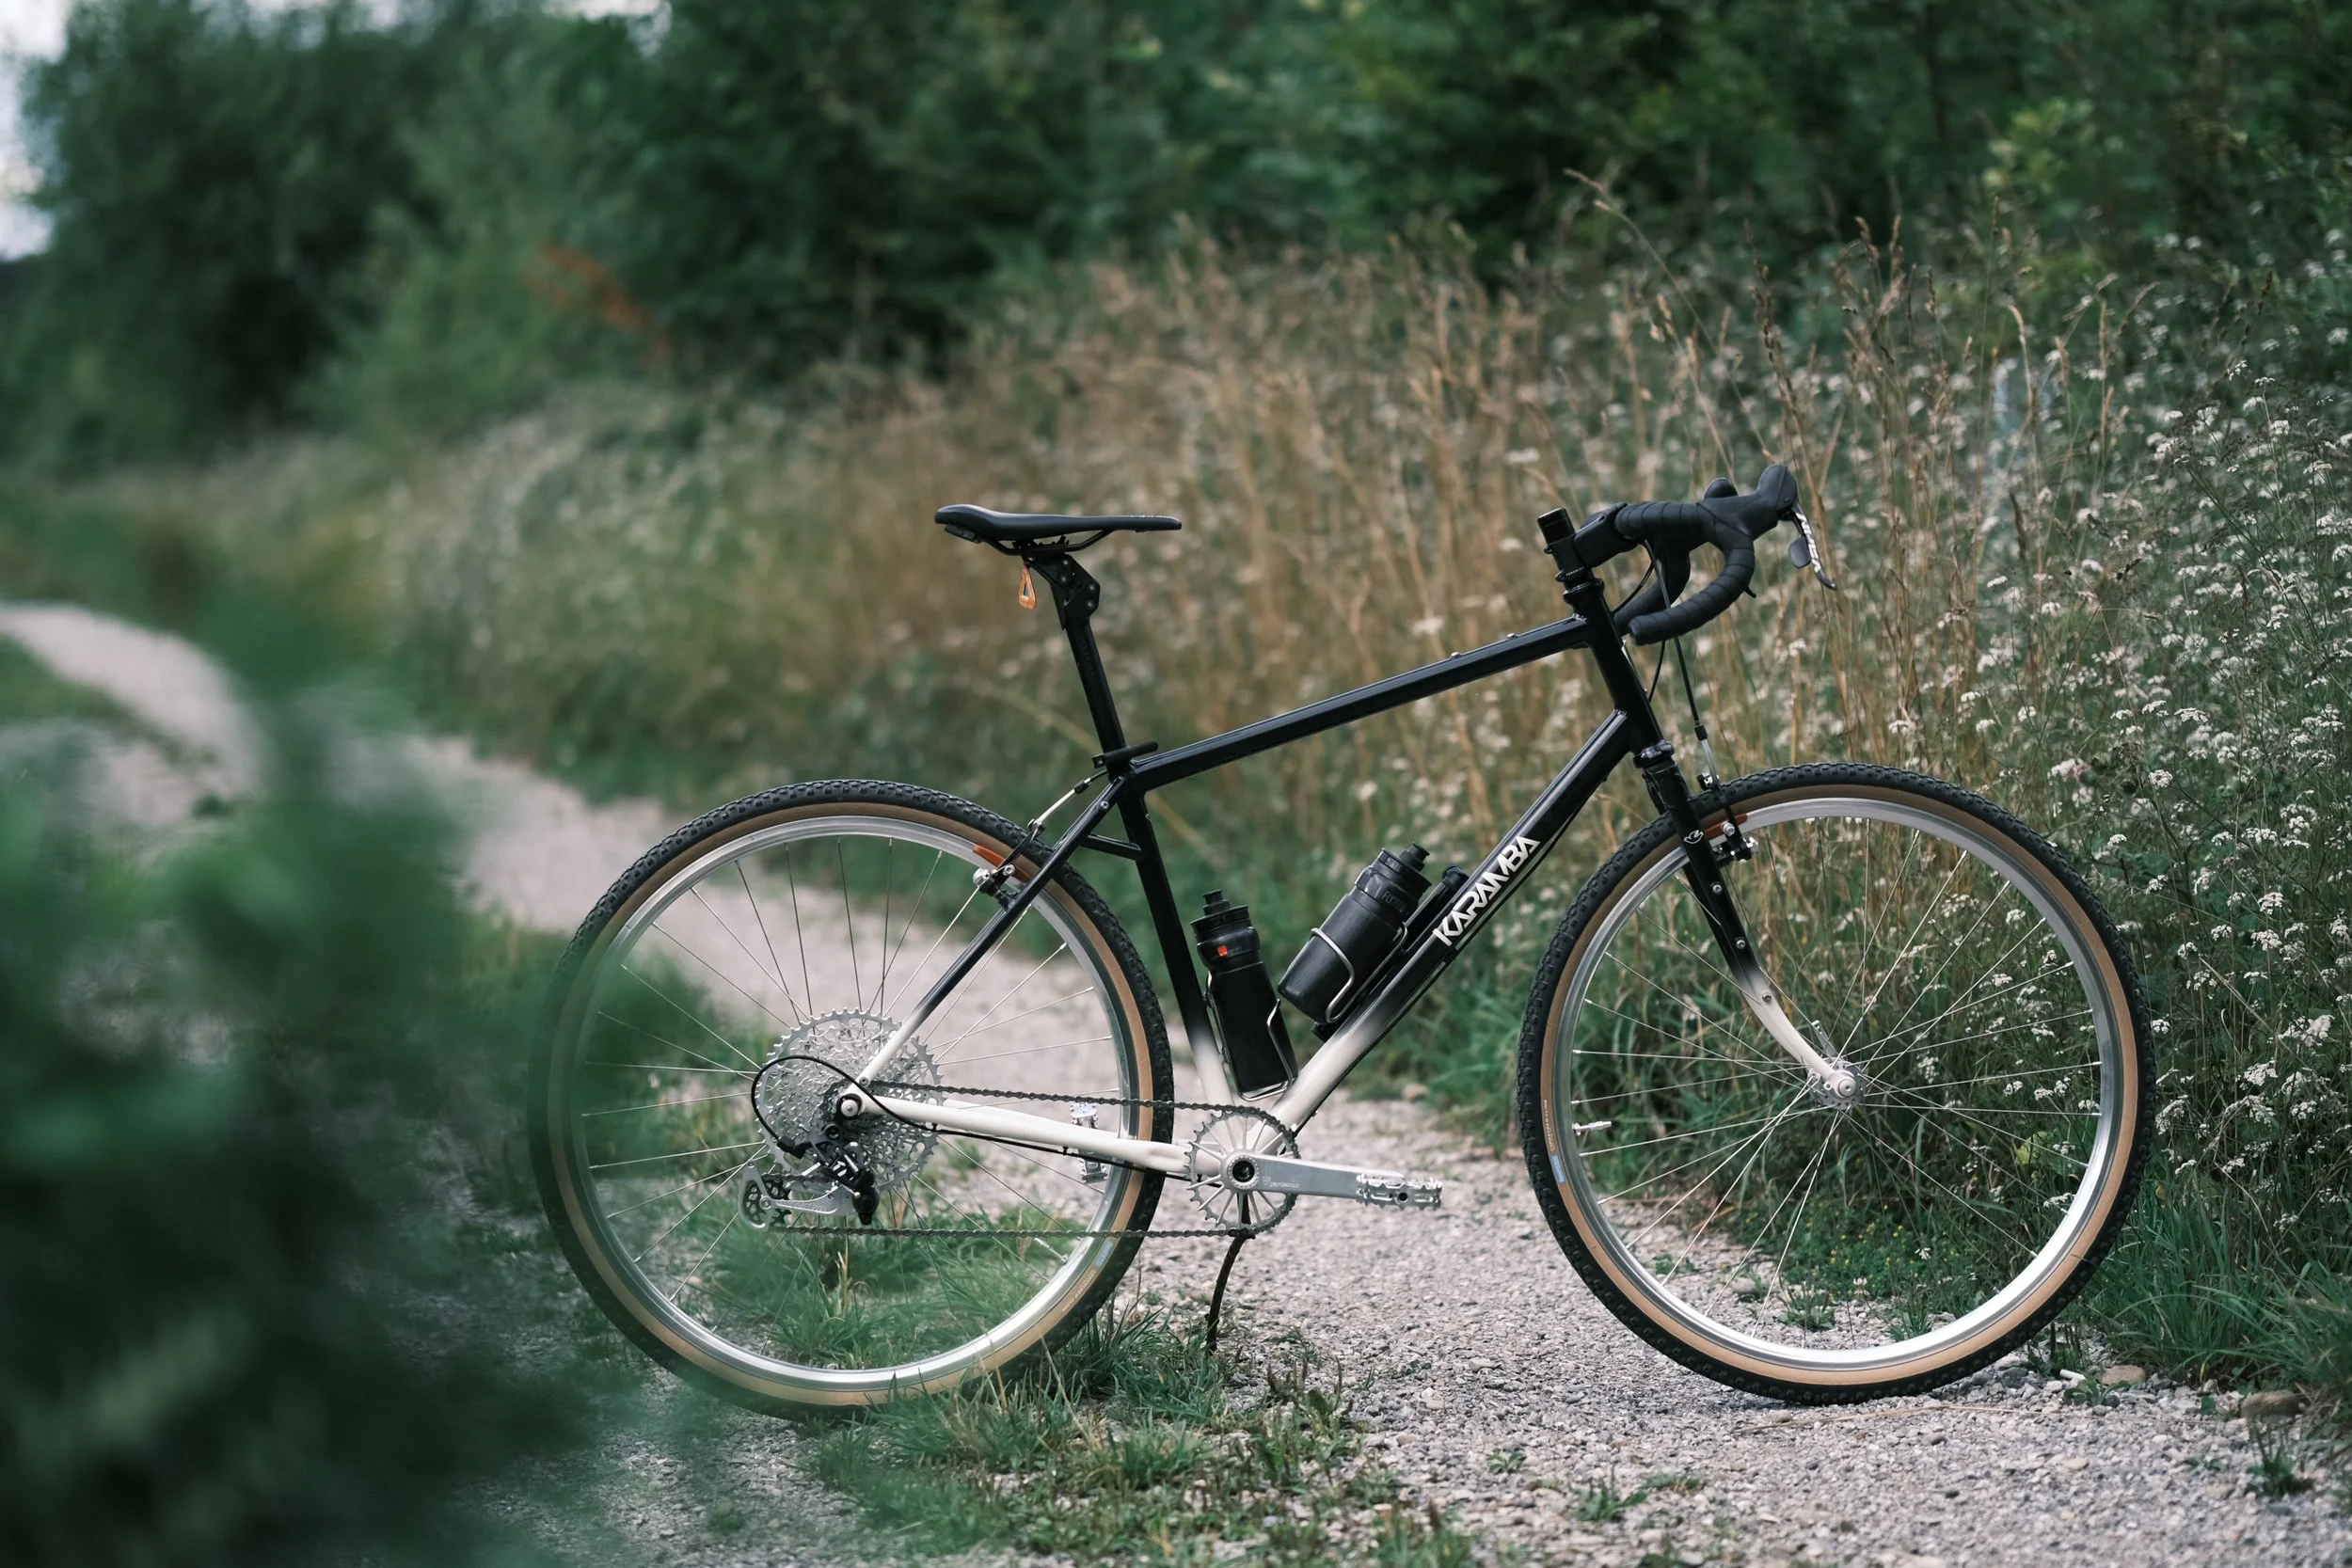
Today (well, technically two weeks ago) was a good day for me – I got to pick up my newly built bike from my trusted workshop. If you’ve been following my blog for a while, you might remember that about three years ago I built my previous gravel bike myself during a framebuilding course.
Don’t worry: that bike is still alive and well, and it’s still getting a lot of use. Just not quite as originally intended. These days, I’m pretty much riding everywhere – commuting, shopping, traveling, or just getting from A to B in daily life. That bike has since been converted to singlespeed – just one gear – and it’s honestly transformed my life in more ways than I can count. Over time, my love for cycling has only grown stronger – and with it, admittedly, my appetite for new gear… and occasionally even entirely new bikes.
Why Rim Brakes?
One idea stuck with me for a long time before I finally acted on it: rim brakes. A bit of an anticlimax, perhaps, if you spend any time on Instagram these days – where 2025 gravel bikes often resemble cross-country mountain bikes (complete with suspension and oversized tires) or aggressive, aerodynamic rockets with sculpted tubing and deep-profile wheels that slice through the air.
But I always seem to go my own way. The charm of rim brakes – and more generally, analog bike tech – has really gotten under my skin over the years. If you compare this new bike to my old URS, which was made of carbon, had front suspension, an active seatpost, and electronic shifting... well, this one is pretty much the opposite. Or maybe the antidote. A quiet rebellion against what’s considered "normal" in modern bike design.
Why Another New Bike?
Why even go for something new if I just praised my old bike so highly above? Good question. I still ride the bike I built myself almost every day, but by now it's been heavily optimized for daily use – and to be honest, there are a few things about it that have started to bother me over time.
First, I kind of messed up when building the fork and rear triangle. They’re not perfectly aligned, which means everything always sits a little crooked. That drives me nuts visually – but it also causes real issues like limited tire clearance and reduced dynamo performance.
I also realized I sometimes just want to ride a lightweight bike – something without fenders or a rack (my commuter bike runs the Allygn Diamond Rack). And so I started reasoning with myself, trying to justify a new bike. Sure, part of it was practical… but let’s be honest: a big part was simply the desire to build something new. Something simple, without too much gimmickry, but still with room for meaningful upgrades.
Old School Meets New Tech
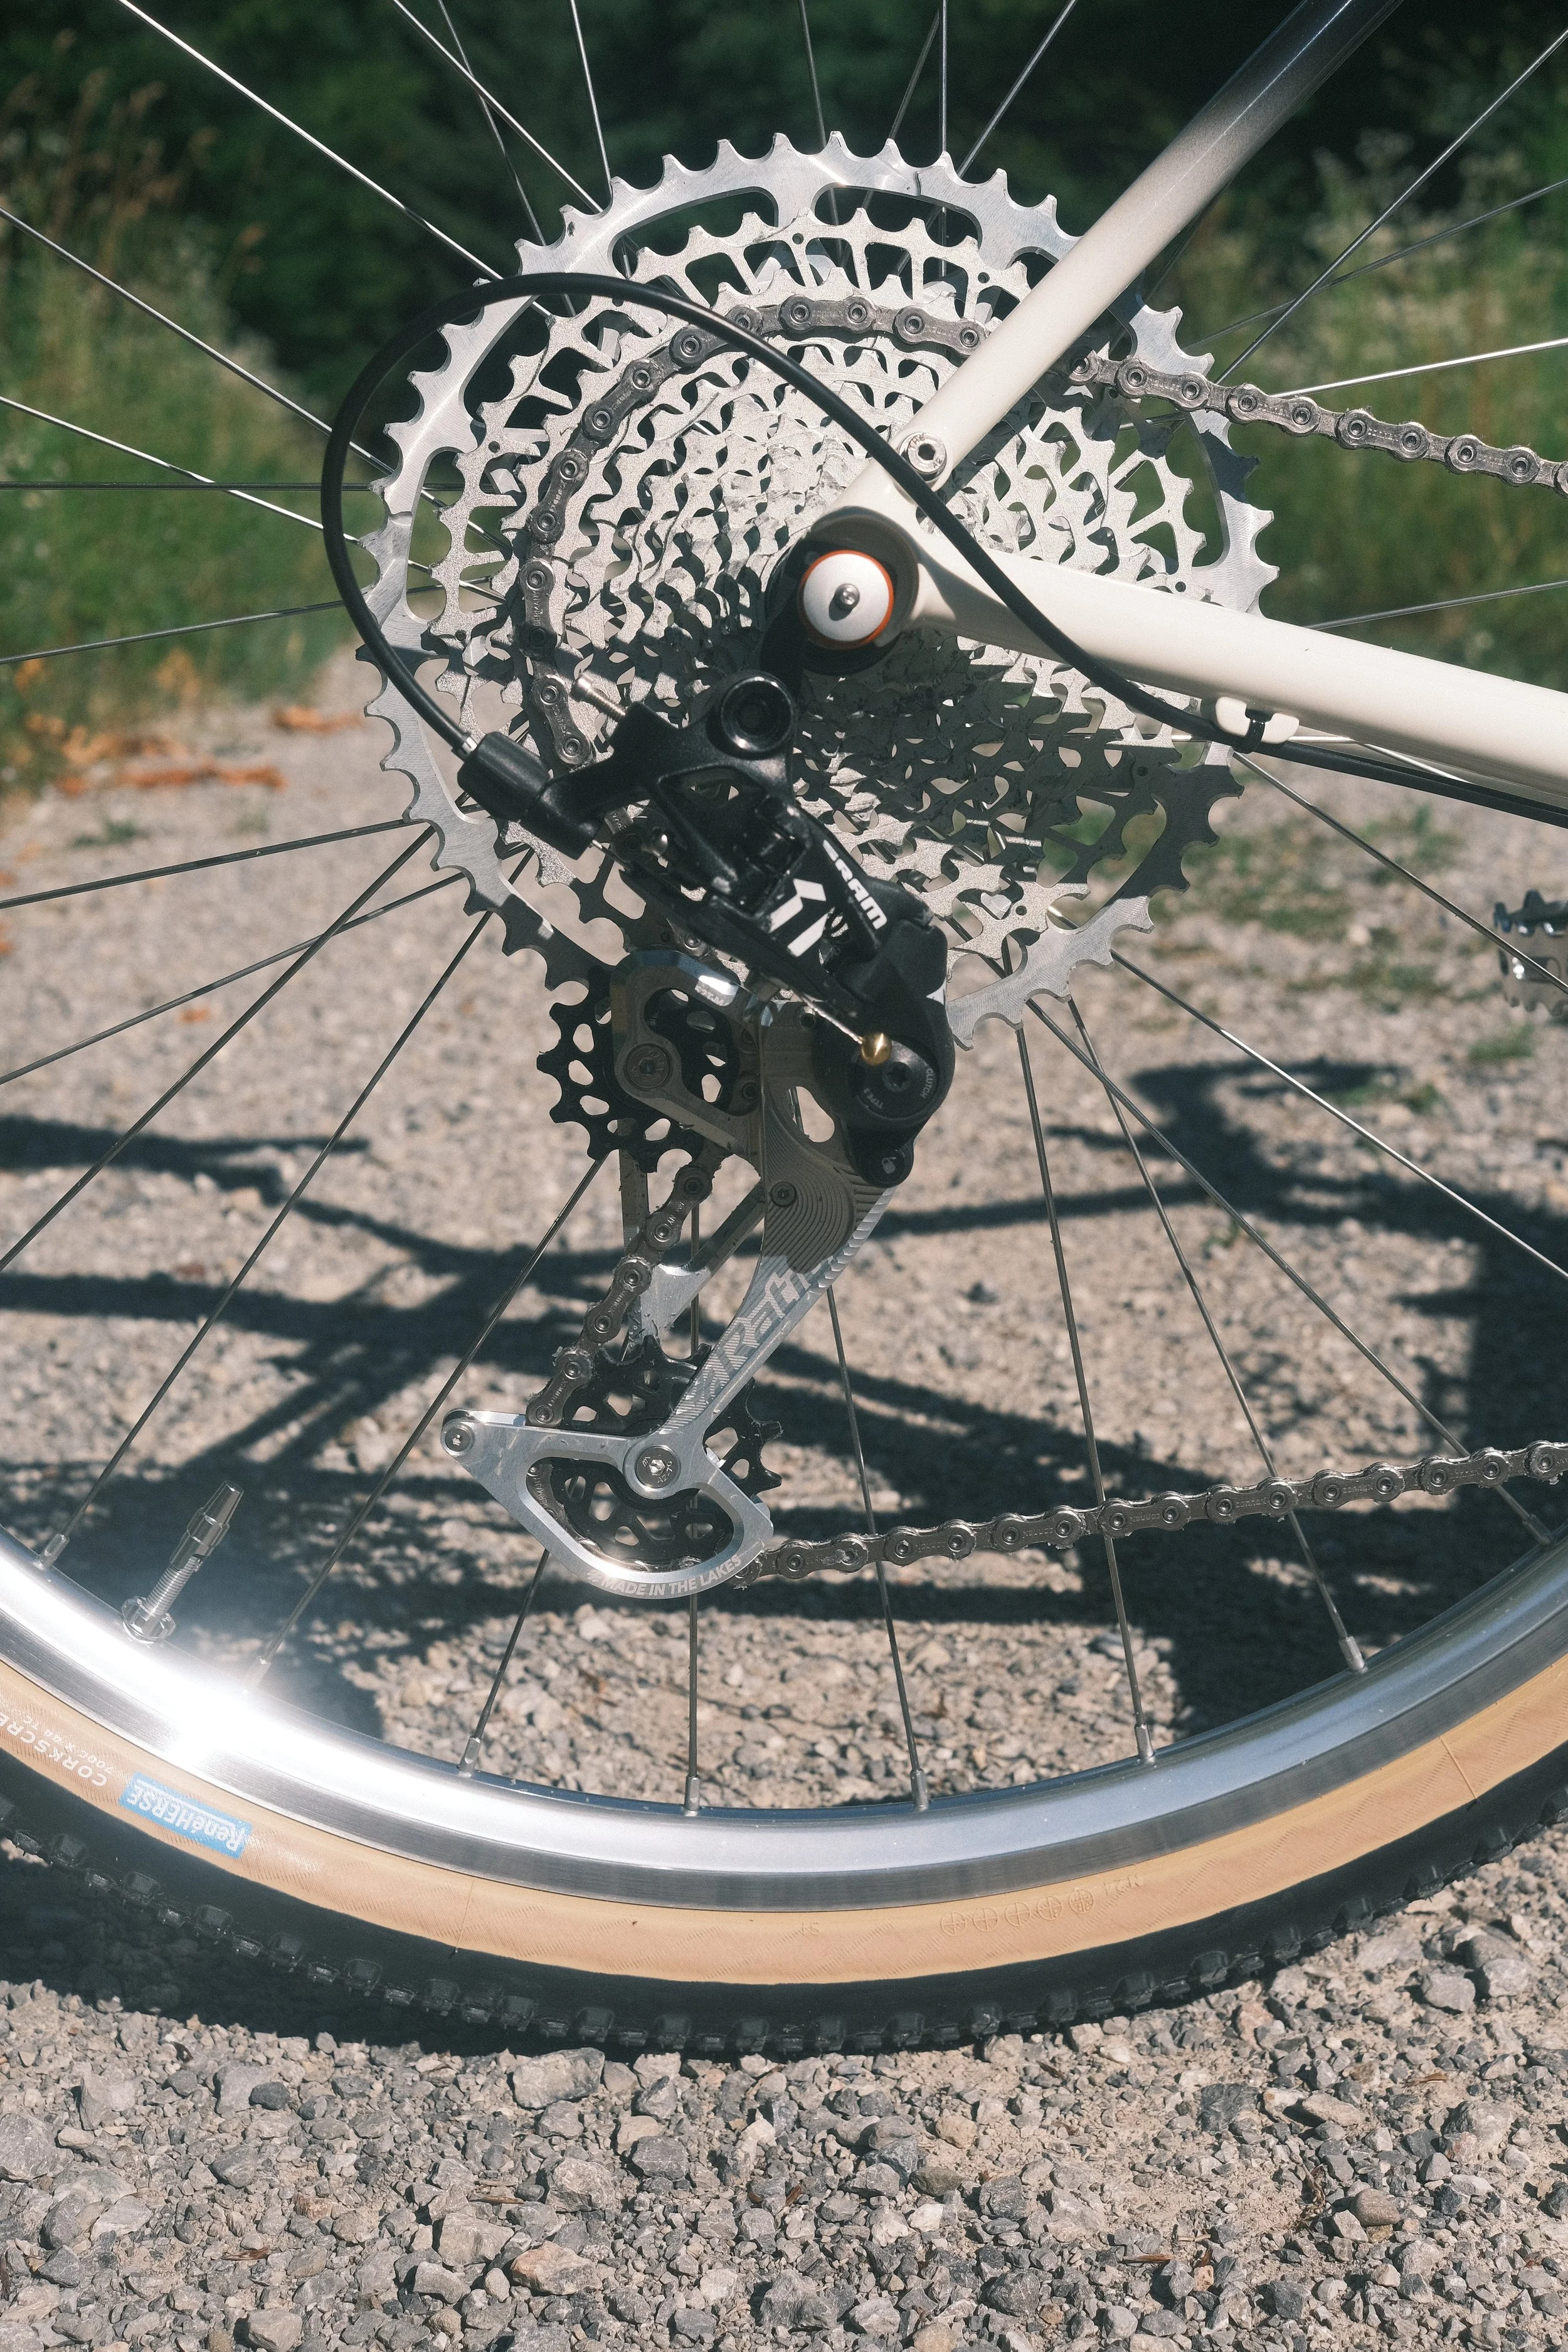
Everything used to be better – or at least that’s what people say these days. Does that also apply to bikes? My new bike follows design standards from around 1990: cantilever brakes, quick-release skewers, and a steel fork. But the components are modern – lightweight crankset, wide-range cassette, and a 12-speed drivetrain.
What mattered most to me was building a bike that doesn’t rely on batteries or overly complex tech. I wanted something that’s easy to use, easy to maintain, and simply fun to ride. Honestly, I think that’s a pretty reasonable goal.
Build Details
It was important to me that the frame is truly designed for gravel – not a jack-of-all-trades. So I went for a geometry that builds on the BMC URS layout, which I already loved back then, and adapted it to suit my personal preferences even more. Right now, the build is still partially based on spare parts I had lying around.
If you’re wondering, “But if it’s built for gravel, why the narrow tires?” – here’s my take: if you only ride gravel, then sure, you shouldn’t go below 50c. But as I’ve said in my older post about tire sizes for gravel bikes: in Central Europe (Switzerland, Germany, Austria), pretty much every route includes a good amount of pavement. And rolling around on 2.3” balloon tires isn’t always that much fun on asphalt.
So I’m giving 45c tires a chance – especially in combination with Redshift components. Let’s see how they hold up as a complete package in terms of weight, comfort, and overall logic.


Tech Specs at a Glance
Frame: Karamba Frameworks (183 cm height, 84 cm inseam, 619 stack, 397 reach, 68° HTA, 74.5° STA)
Drivetrain: SRAM Apex shifters modified with Ratio kit for 12-speed, Garbaruk XC crankset and cassette, modified SRAM Apex derailleur
Handlebar: Beast Components Gravel Bar, 44 cm
Stem: Redshift Suspension Stem, 70 mm
Fork: Karamba Frameworks
Wheels: Kinlin rims, Hope R4s hubs, Sapim spokes
Lighting / Power: Velogical rim dynamo (still to be mounted)
Seatpost: Redshift Suspension Seatpost Endurance Pro
Saddle: SQlab 614
Pedals: MKS XC III flat pedals
Tires: Rene Herse Corkscrew Climb 700x44c, tubeless
Headset & Bottom Bracket: Acros
Brakes: Paul Component Minimoto
Steel Tubing: Columbus Zona
Tire Clearance: Up to 2.3"
Weight: 10.3 kg ready-to-ride (frame: 1950 g, fork: 980 g)
First Impressions & Personal Take
My first rides were simply incredible. The comfort blew me away – and so did how perfectly the bike fits me. That’s the beauty of a custom frame: it’s built for your body. The fork also plays a big part in the bike’s overall comfort, and it does its job really well.
I had this bike custom-built by Karamba Frameworks in Poland, and I have to say – I’m genuinely amazed at how well it all came together. Bartek from Karamba did an outstanding job from the first concept sketches to the final product. The frame quality is top-notch, and the paint job turned out even better in person than I had imagined.
I’m especially happy that the color scheme I came up with turned out to be so cohesive in real life. Please forgive the uncut steerer tube – I still want some flexibility to experiment with the fit.
All in all, I’m extremely satisfied with the result. It even exceeded what I had originally envisioned. Now it’s time to put in some serious miles and find out whether all my theoretical choices actually hold up in the real world.
A Handy Detail
Some eagle-eyed readers may have already spotted the extra steel tube running from the seat tube to the seat stays – it’s there to make carrying the bike easier. I can tuck the bike perfectly under my arm this way – great for stairs or quick portage sections.
Disc Brakes vs. Rim Brakes?
I’ll save the full post about rim vs. disc brakes for another time – once I’ve gathered enough riding experience to actually say something meaningful. For now, though, I’m still floating on cloud nine with this build and all its components.


A Heartfelt Thank You
If you’ve made it this far – thank you, truly, from the bottom of my heart. The blog has grown tremendously this year in terms of readership, and I couldn’t be happier. It means a lot to me and motivates me even more to keep sharing content you’ll (hopefully) enjoy.
The rest of the year is already pretty well planned out – with plenty of gear reviews and probably a few travel stories too, if that’s something you're into. Here’s a little teaser: the upcoming posts will focus on bikepacking bags and different ways to carry gear on your bike. Stay tuned!


